

THE PROCESS
HARDWARE AND TOOLS USED
-Natural Fabric - Wood glue - 6mm Birch plywood - Glue gun - Vinyl sheet - Vacuum machine - Vacuum bag - Air gun - Plasto resin epoxy - 2mm acrylic sheet
MOLD MAKING AND WORKING WITH NATURAL FABRIC COMPOSITES
For this week assignment I wanted to work with composites materials 2 years ago I had chance to work with fibre carbon composites but I never tried working with natural fabric so for this I week I’ve just decided to give it a try
To begin with, First I started with designing and making the mould I wanted to have a good finishing quality on the inside surface of the object only that is why I chose to do one side mould .
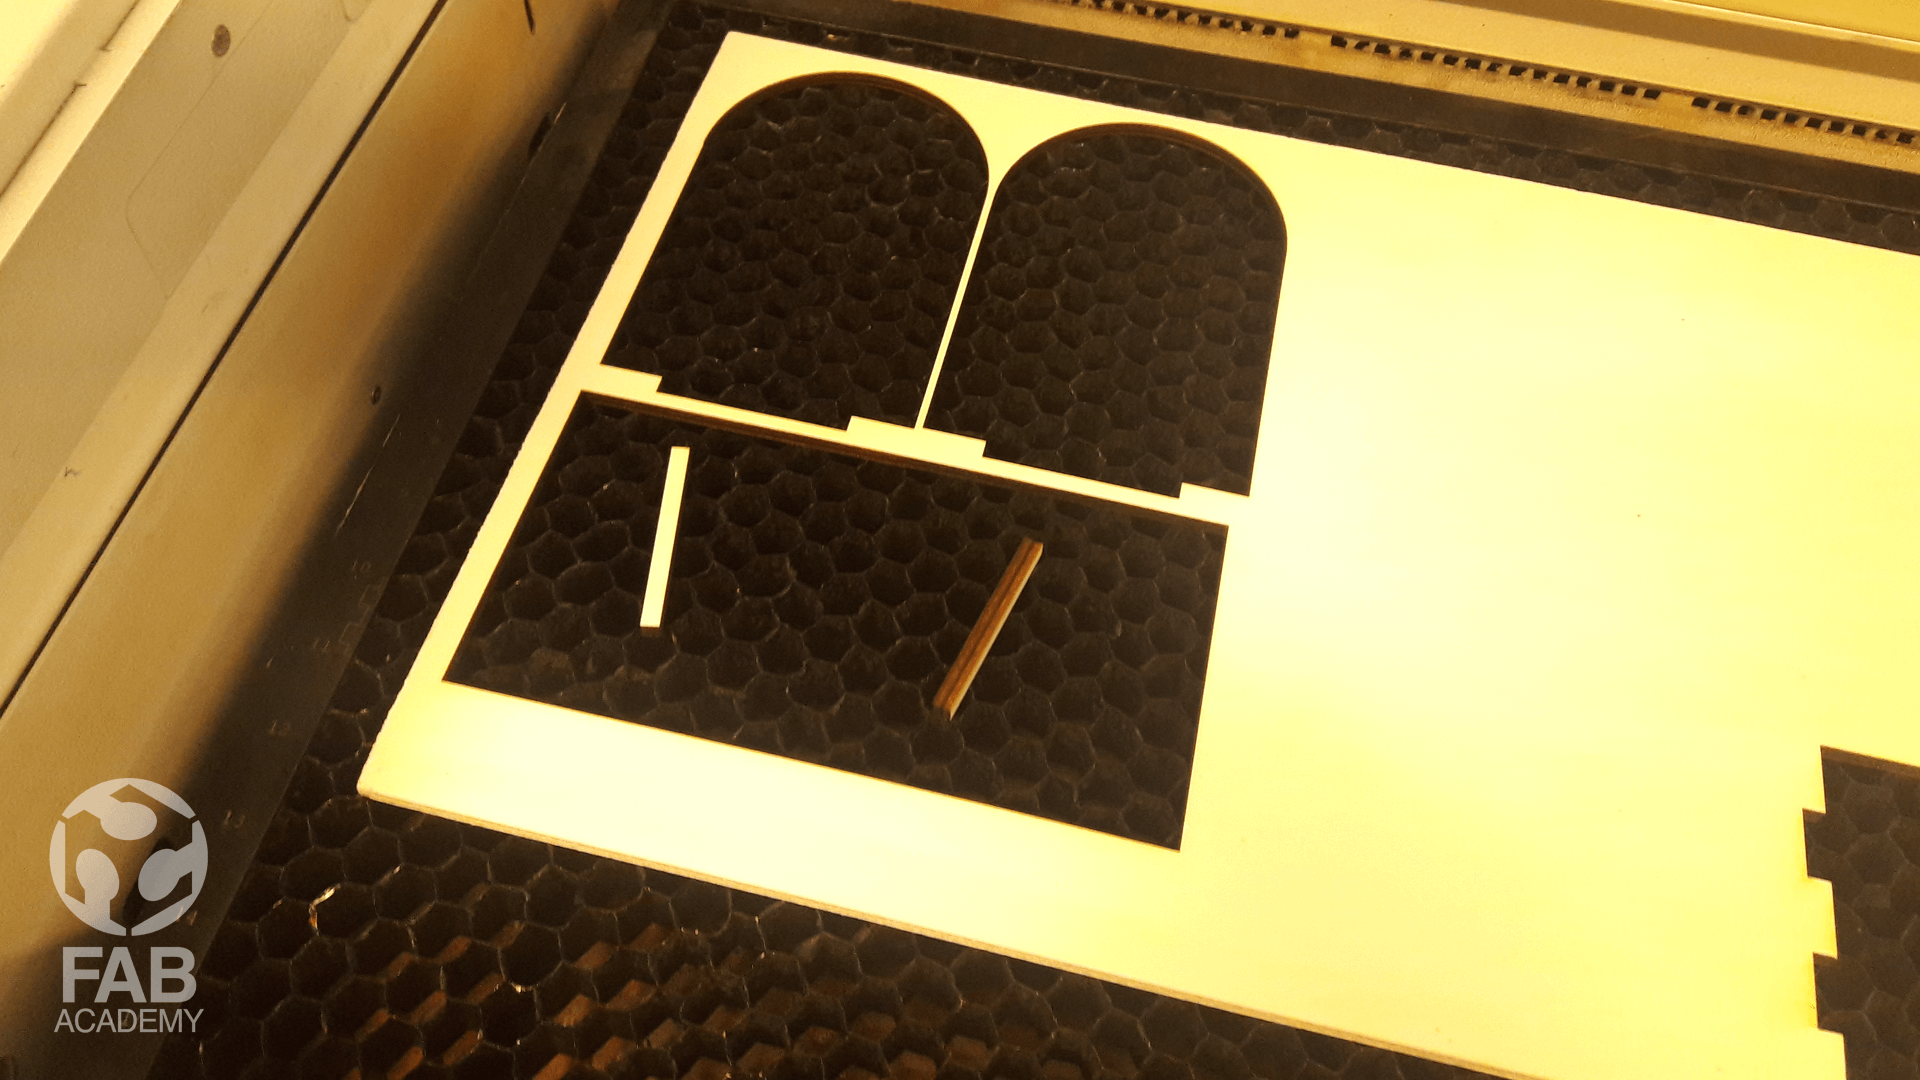
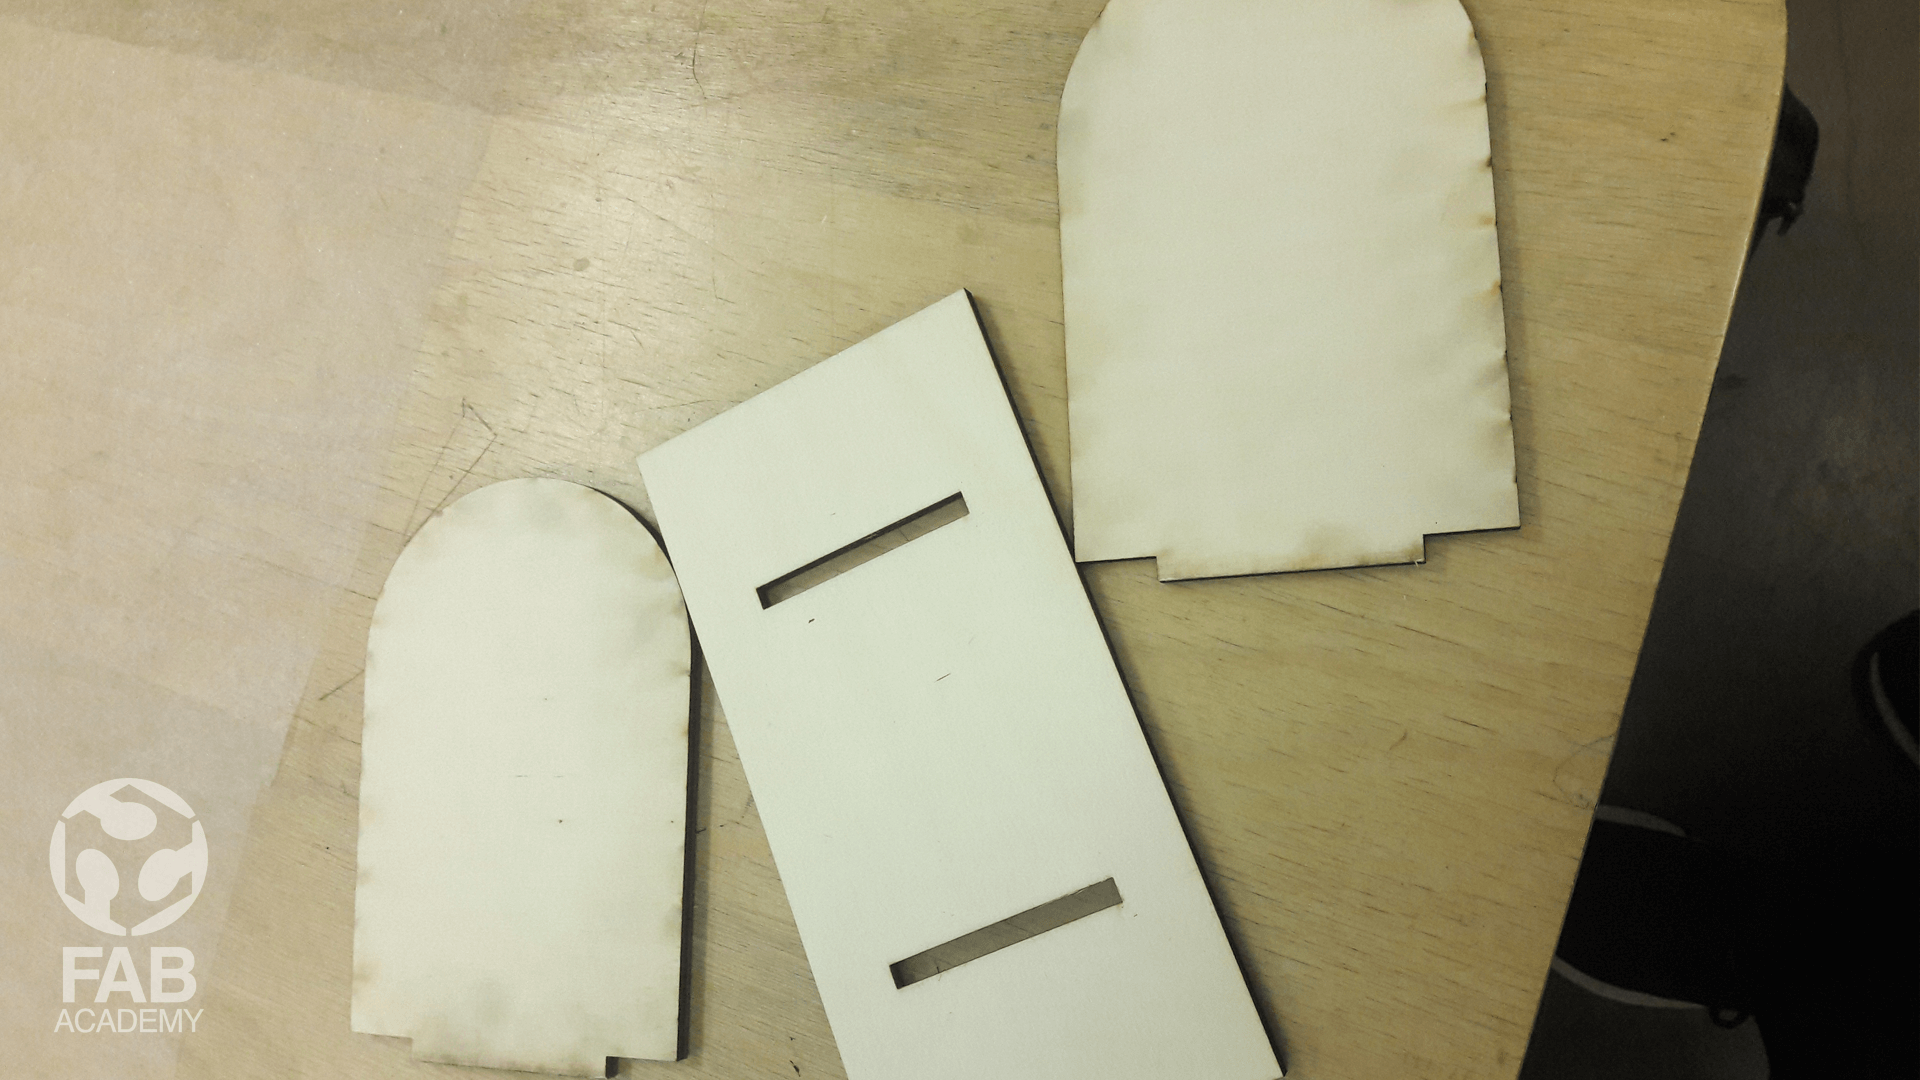
for designing the mould I used rhinoceroses 3D and after I was done with the designing process I started by cutting the shapes using the laser printer as shown in image # 01 and then I started with assembling the wooden parts and glue them together using wood glue for this project I used 6mm Birch plywood.
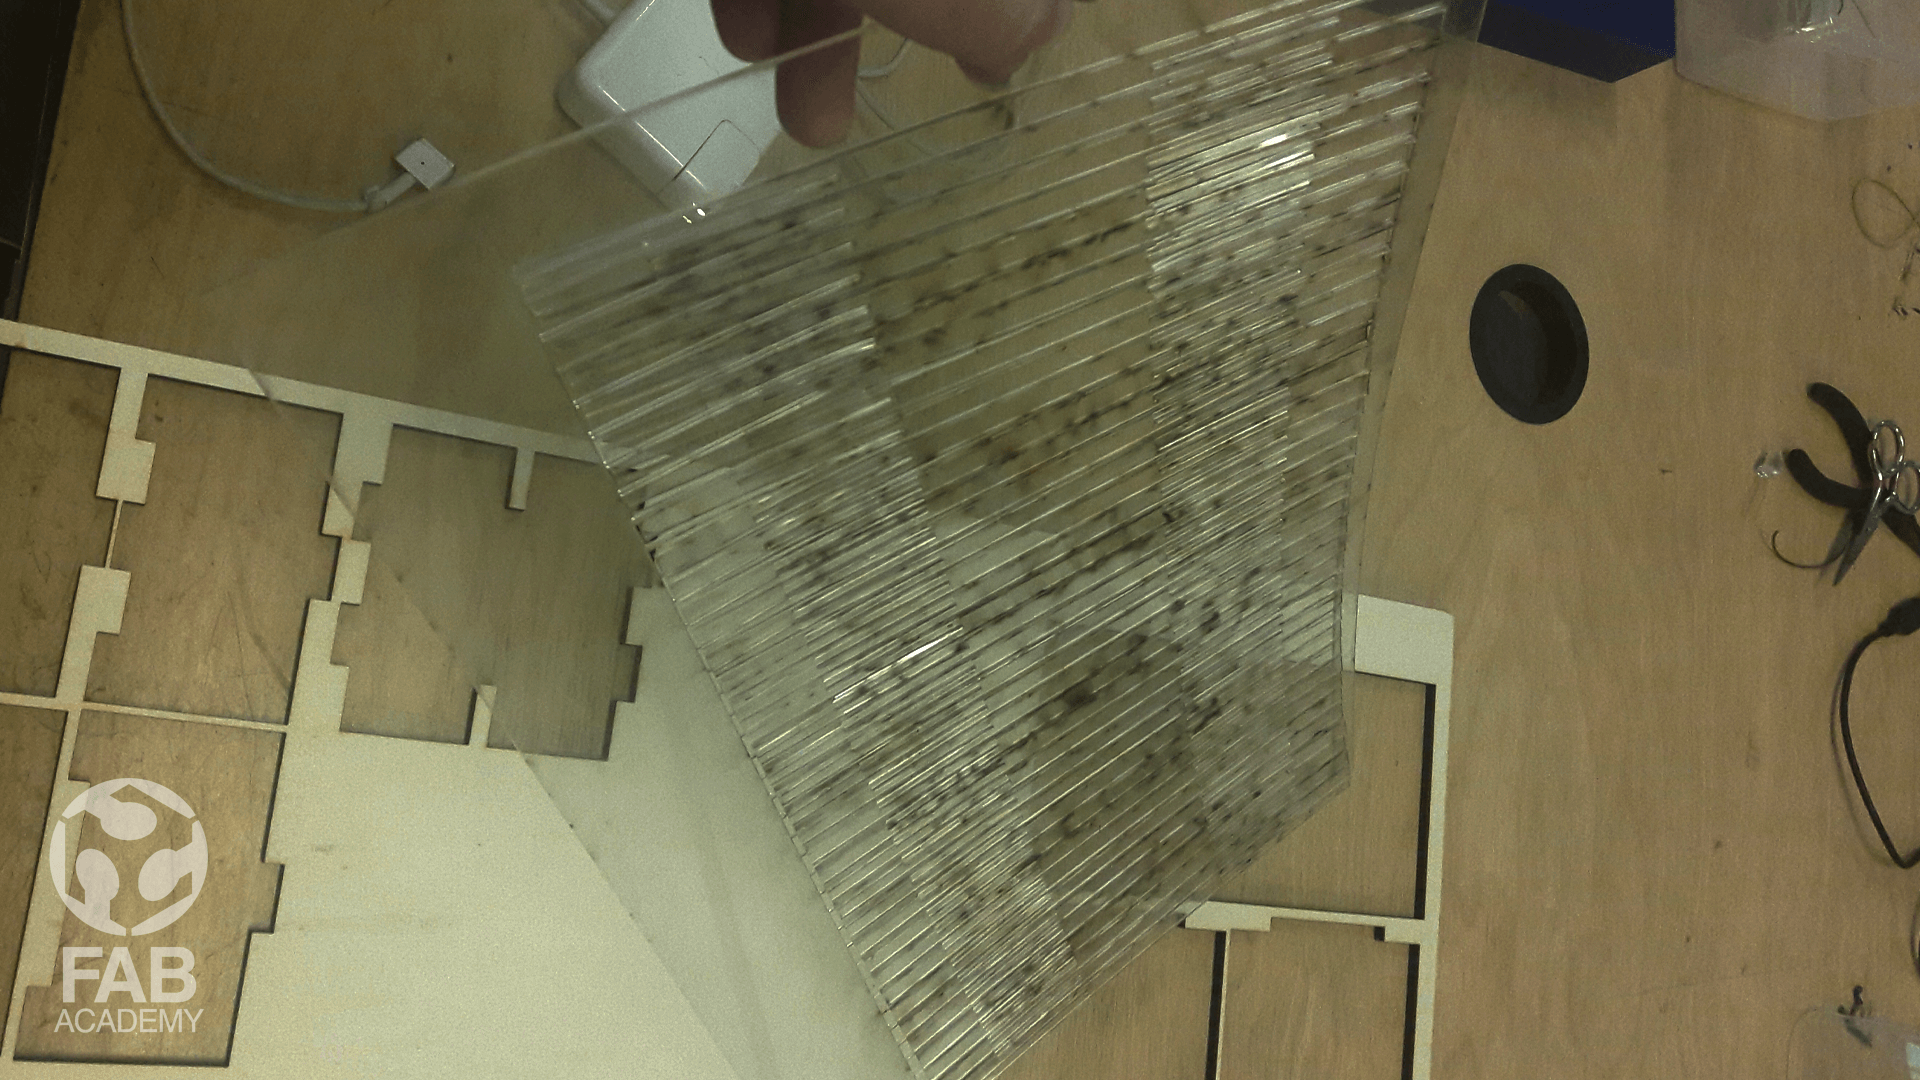
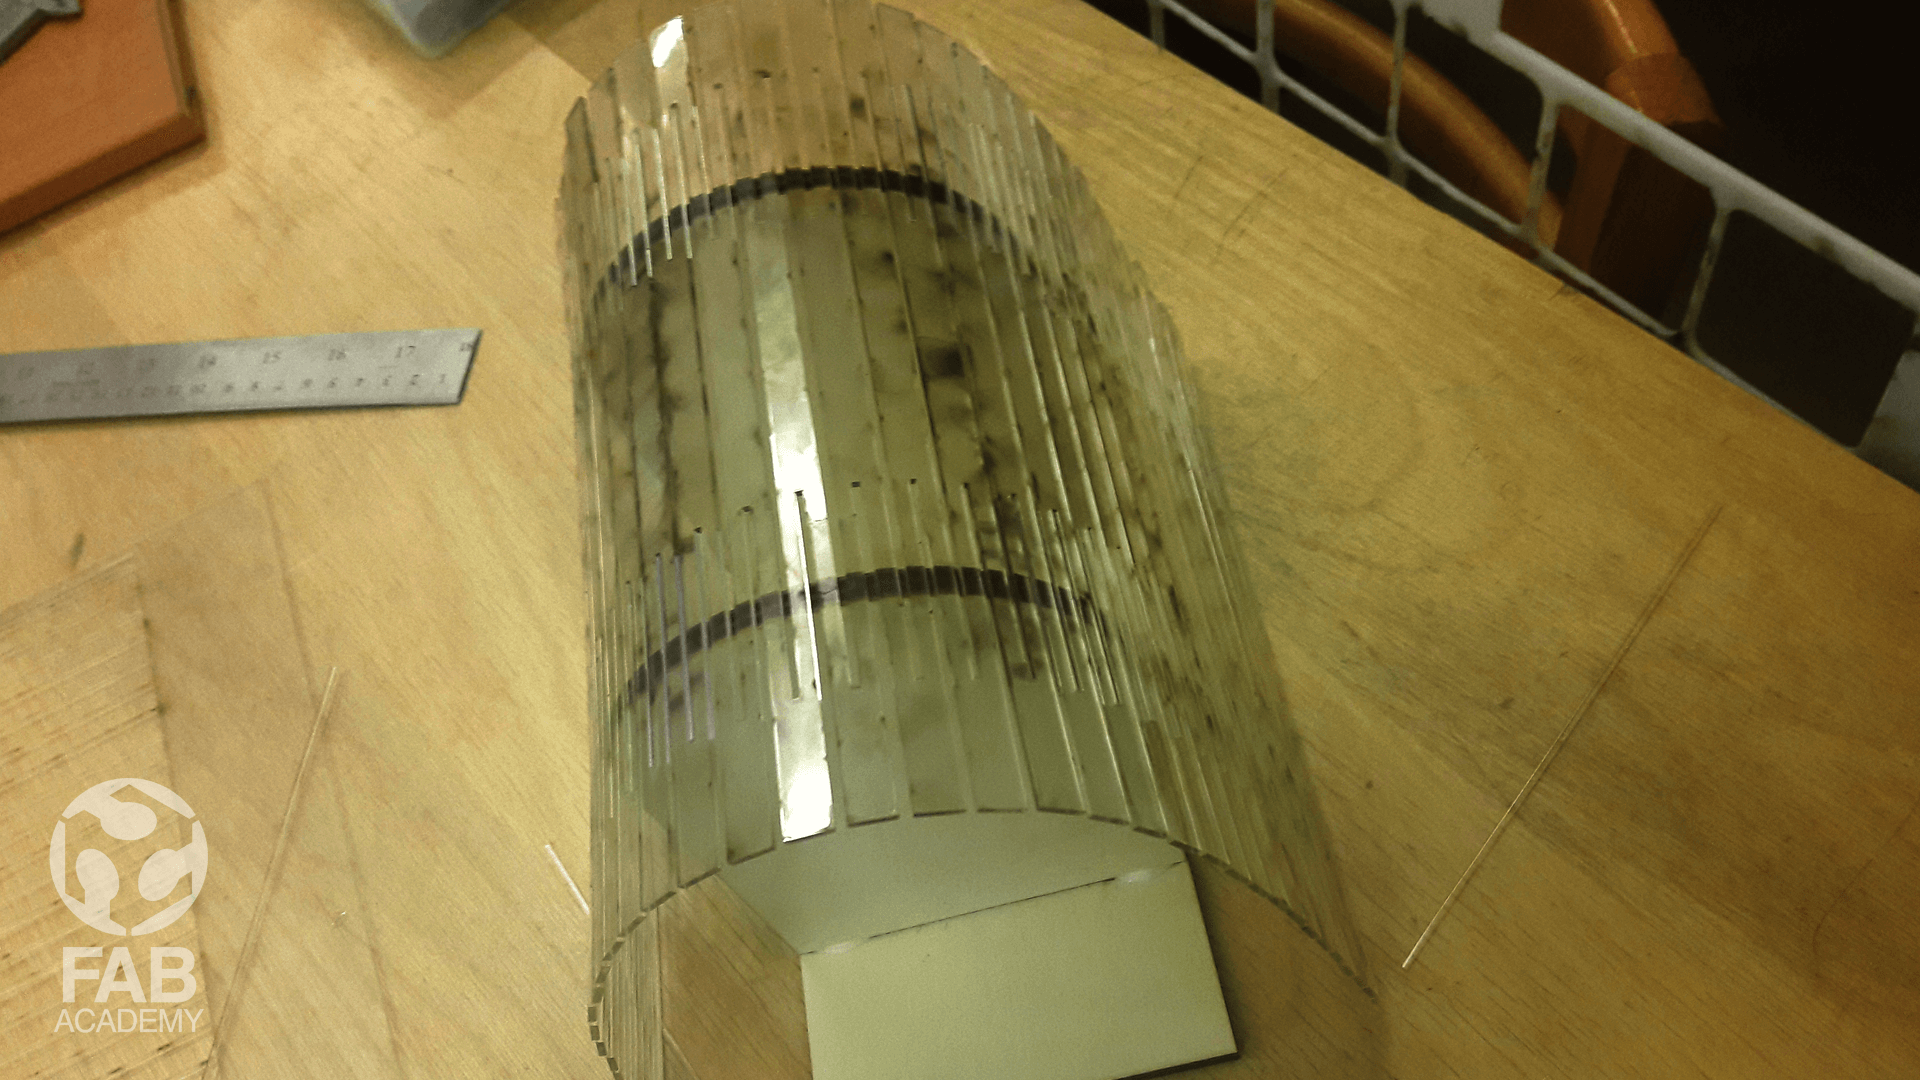
However, After constructing the main parts of the mold I wanted to cover these parts in an arch shaped surface so to do that I used a 2 mm acrylic sheet and by using the laser cutter I added living hinges in order to make the acrylic sheet easy to bend and flexible as shown in image # 05 the sheet was bending without any effort.
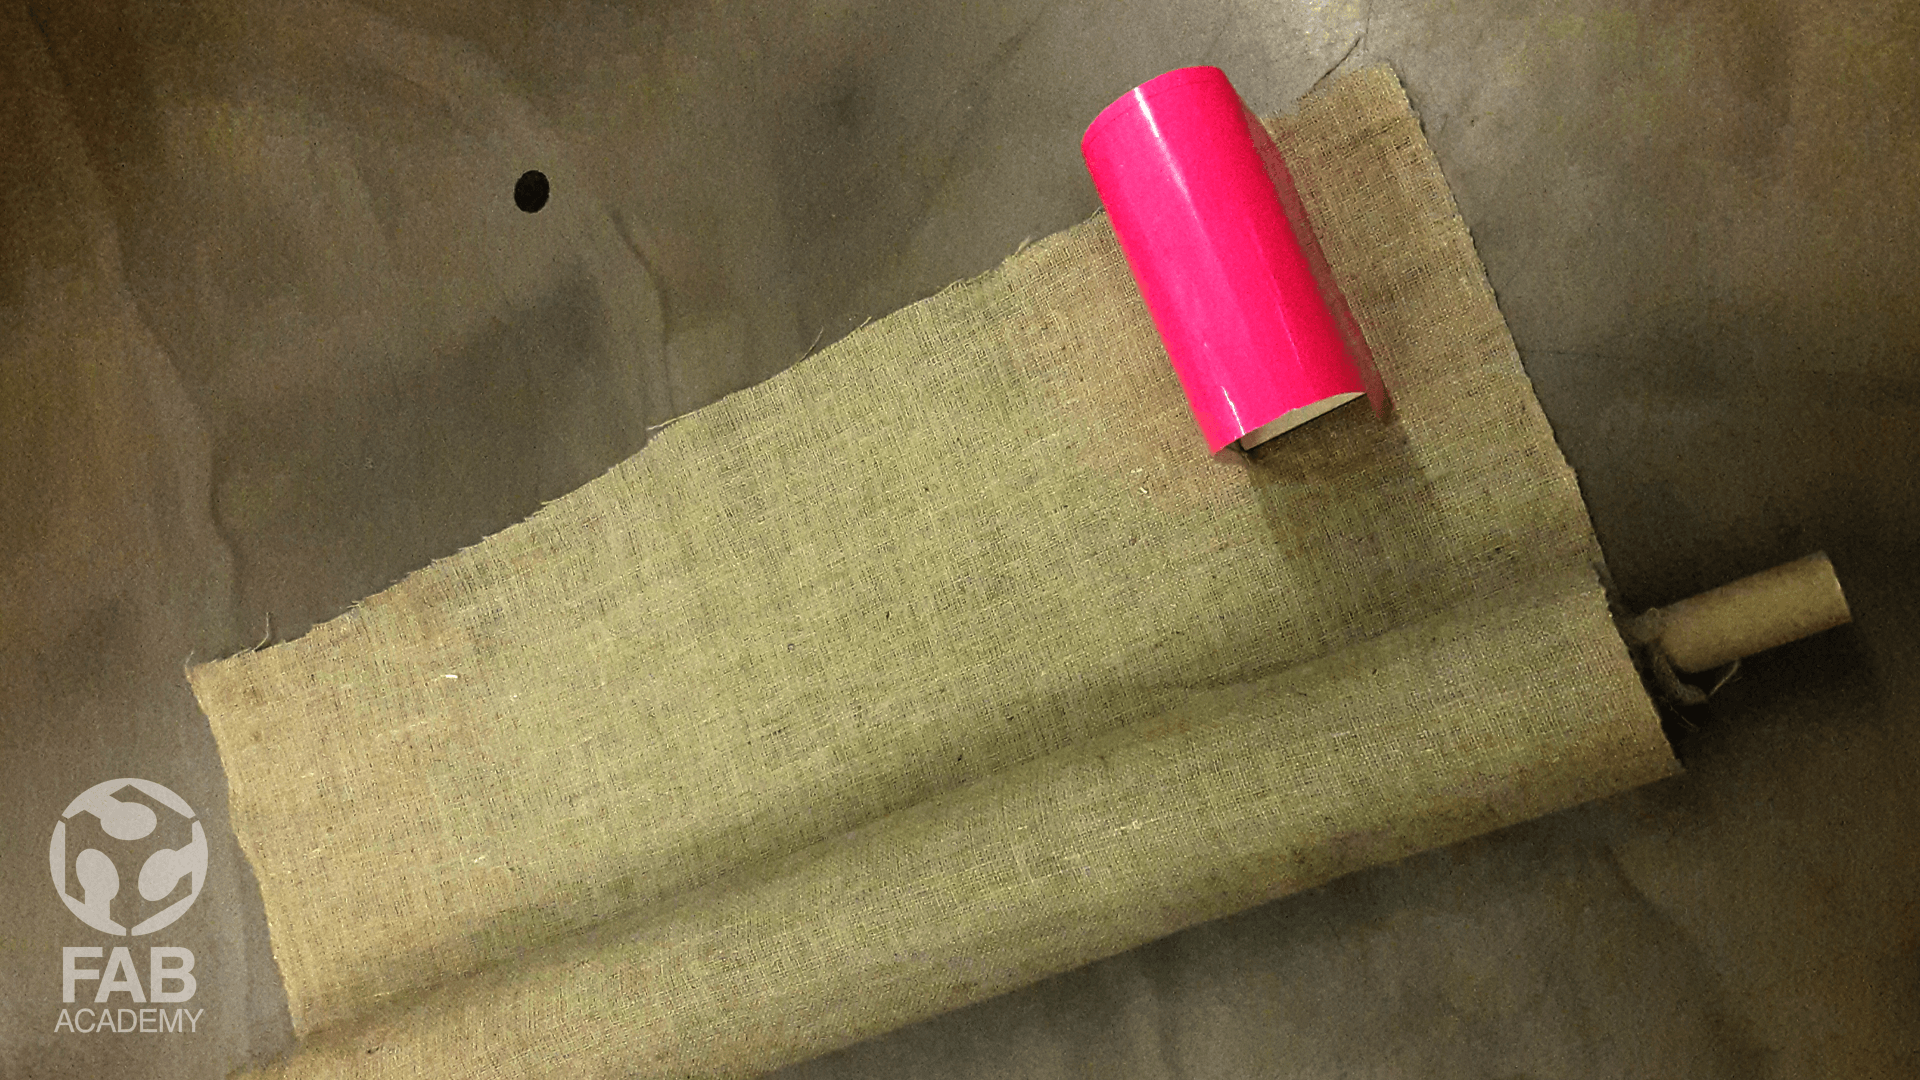
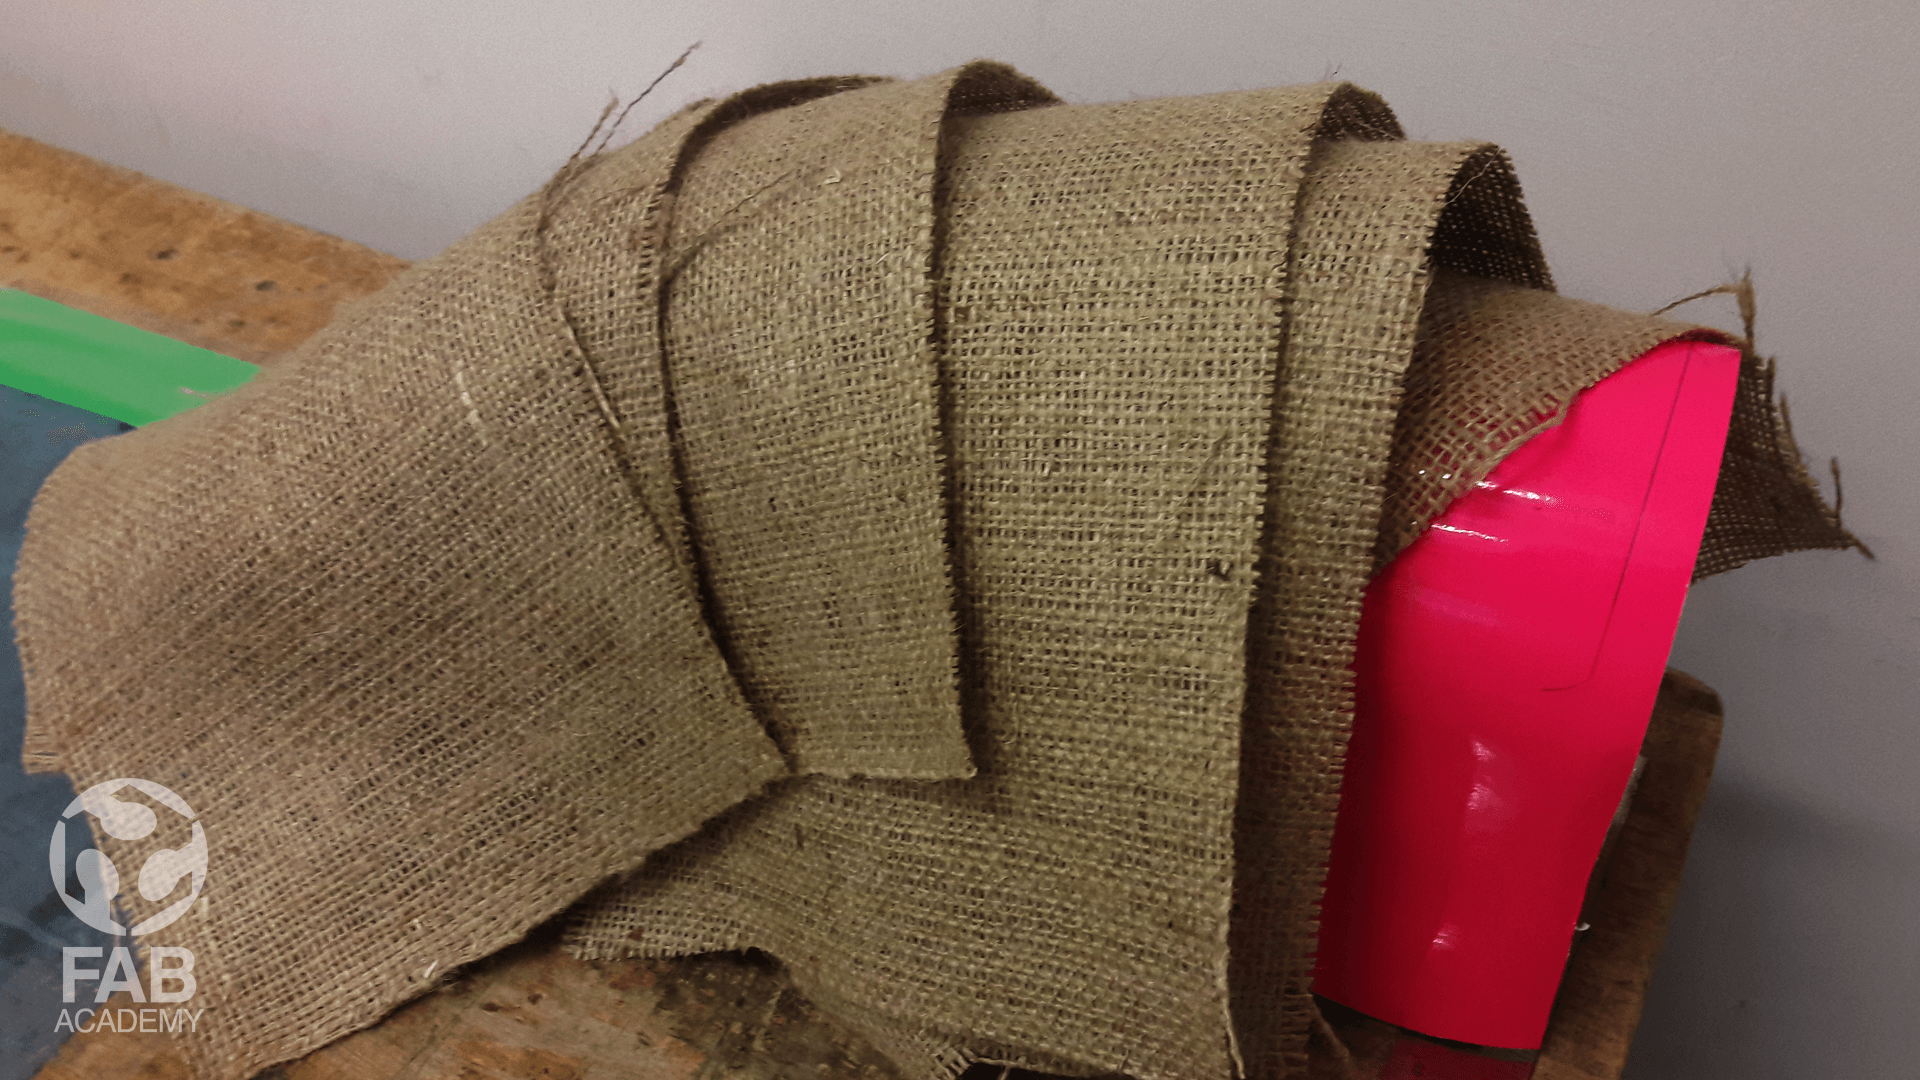
Then, I used a glue gun for fixing the acrylic sheet with the mold structure and in ordered to seal the living hinge acrylic sheet I added a vinyl layer on top of it just to ensure that epoxy resin doesn’t leak through the spaces I have on the acrylic sheet. And once I was done with fixing the vinyl layer on the surface I started cutting 6 equal sheet of natural fabric that we had at echofab .
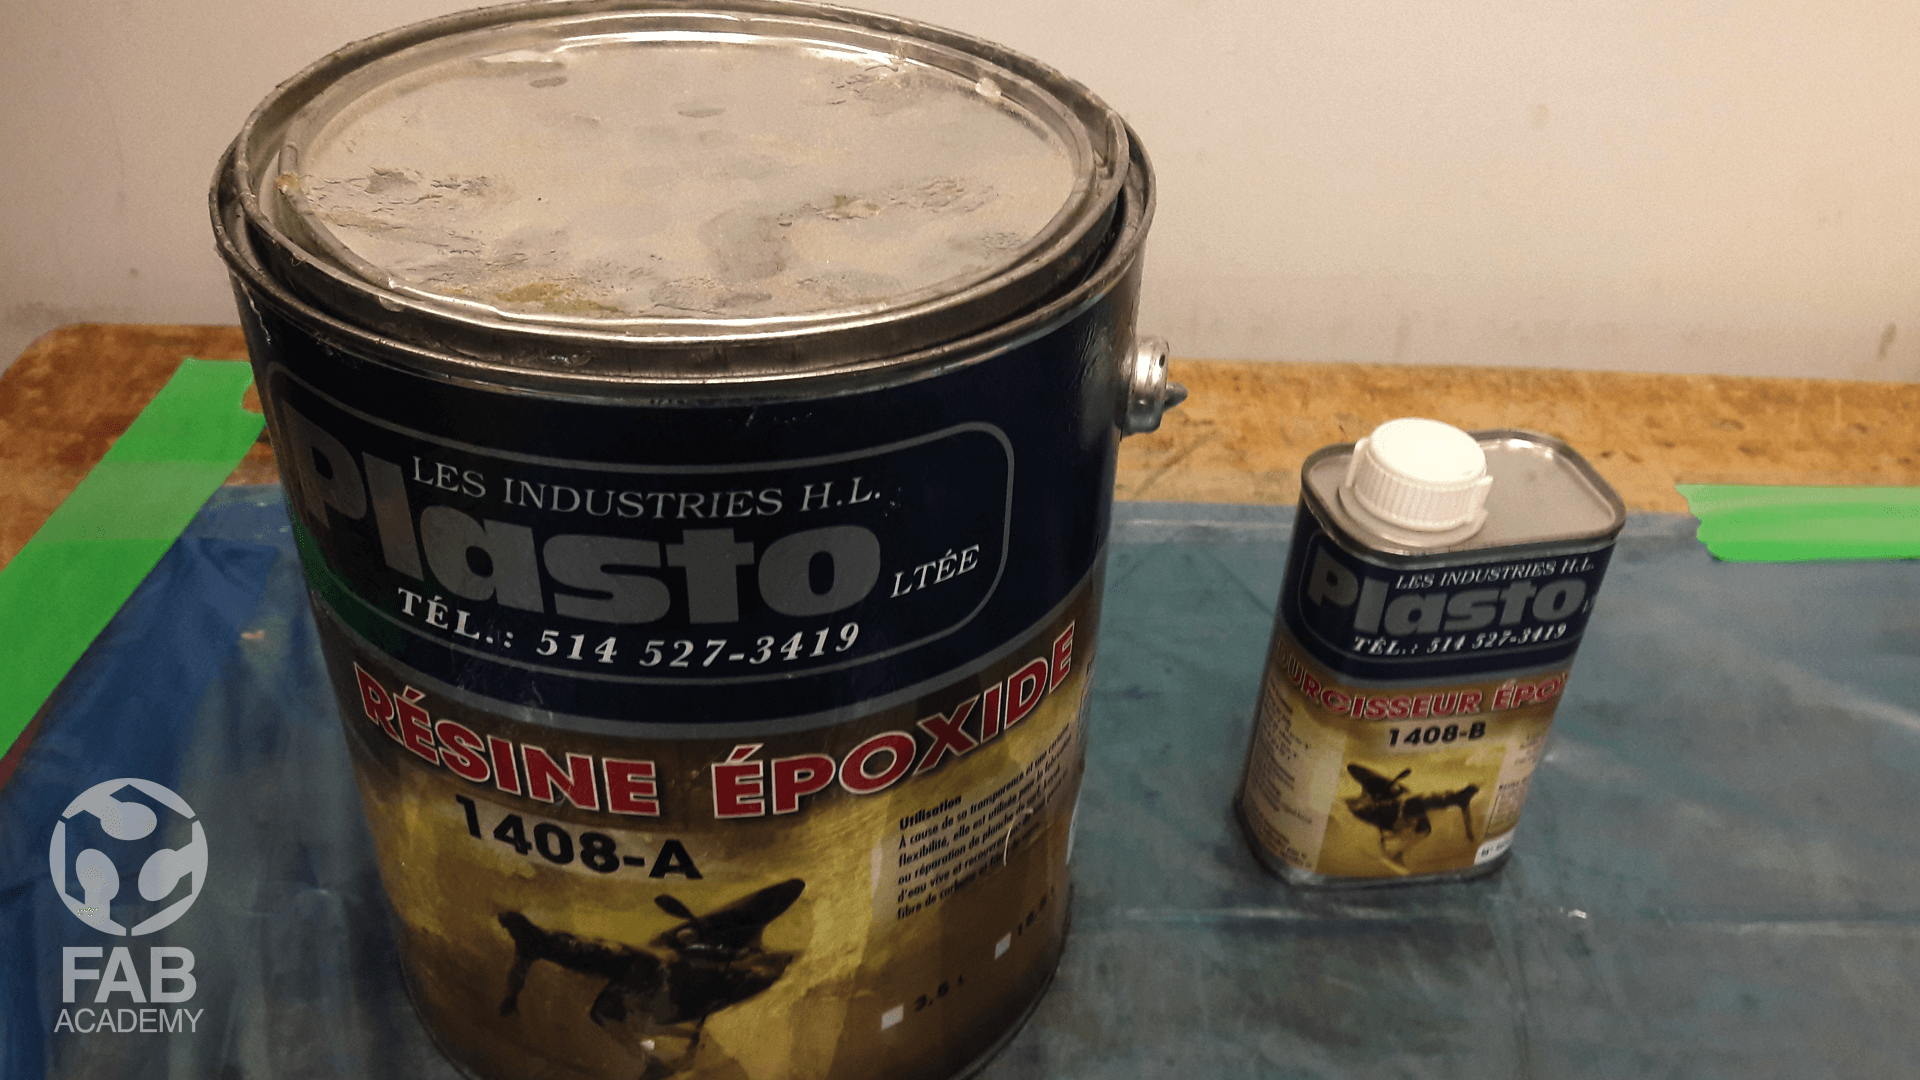
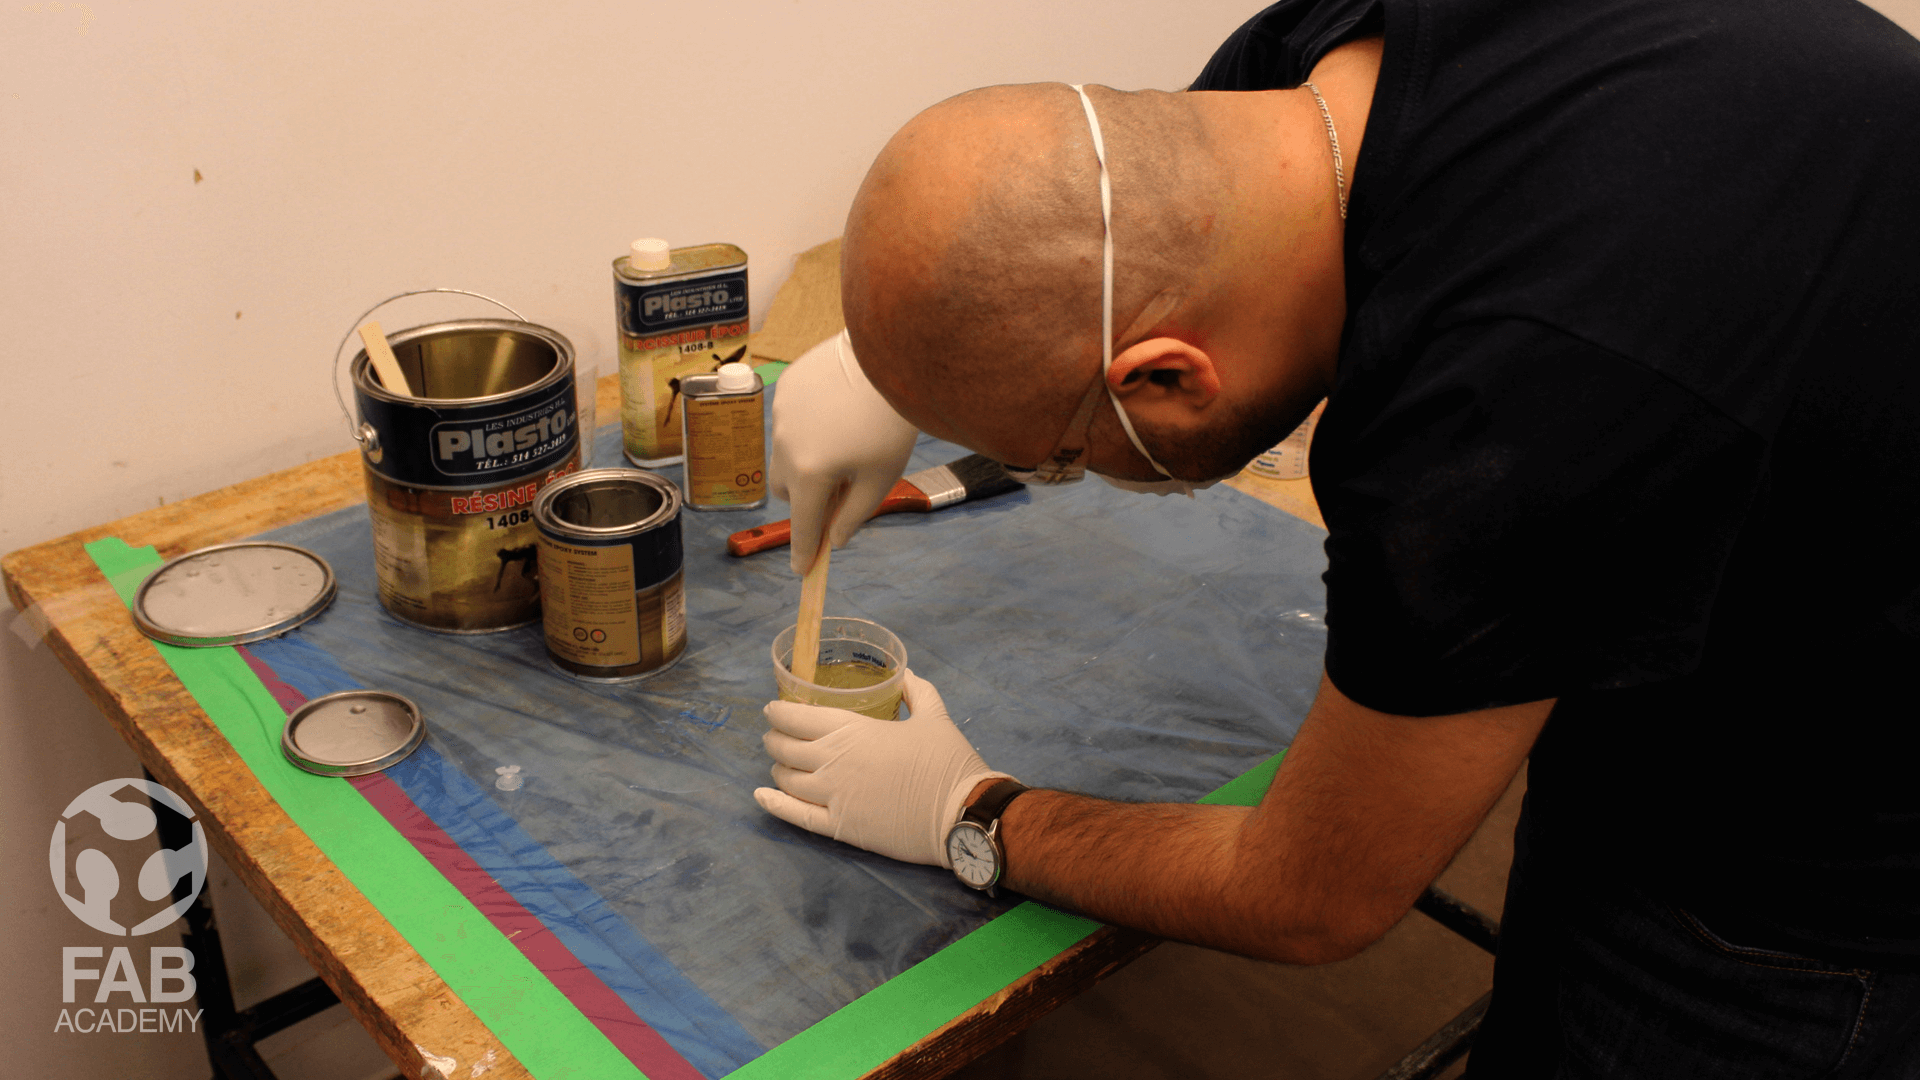
For this project we used epoxy resin and the brand we used called “ PLASTO EPOXY “ however after checking the technical data sheet and asking our instructor I found that the mixing ratio should be 3 to 1 .
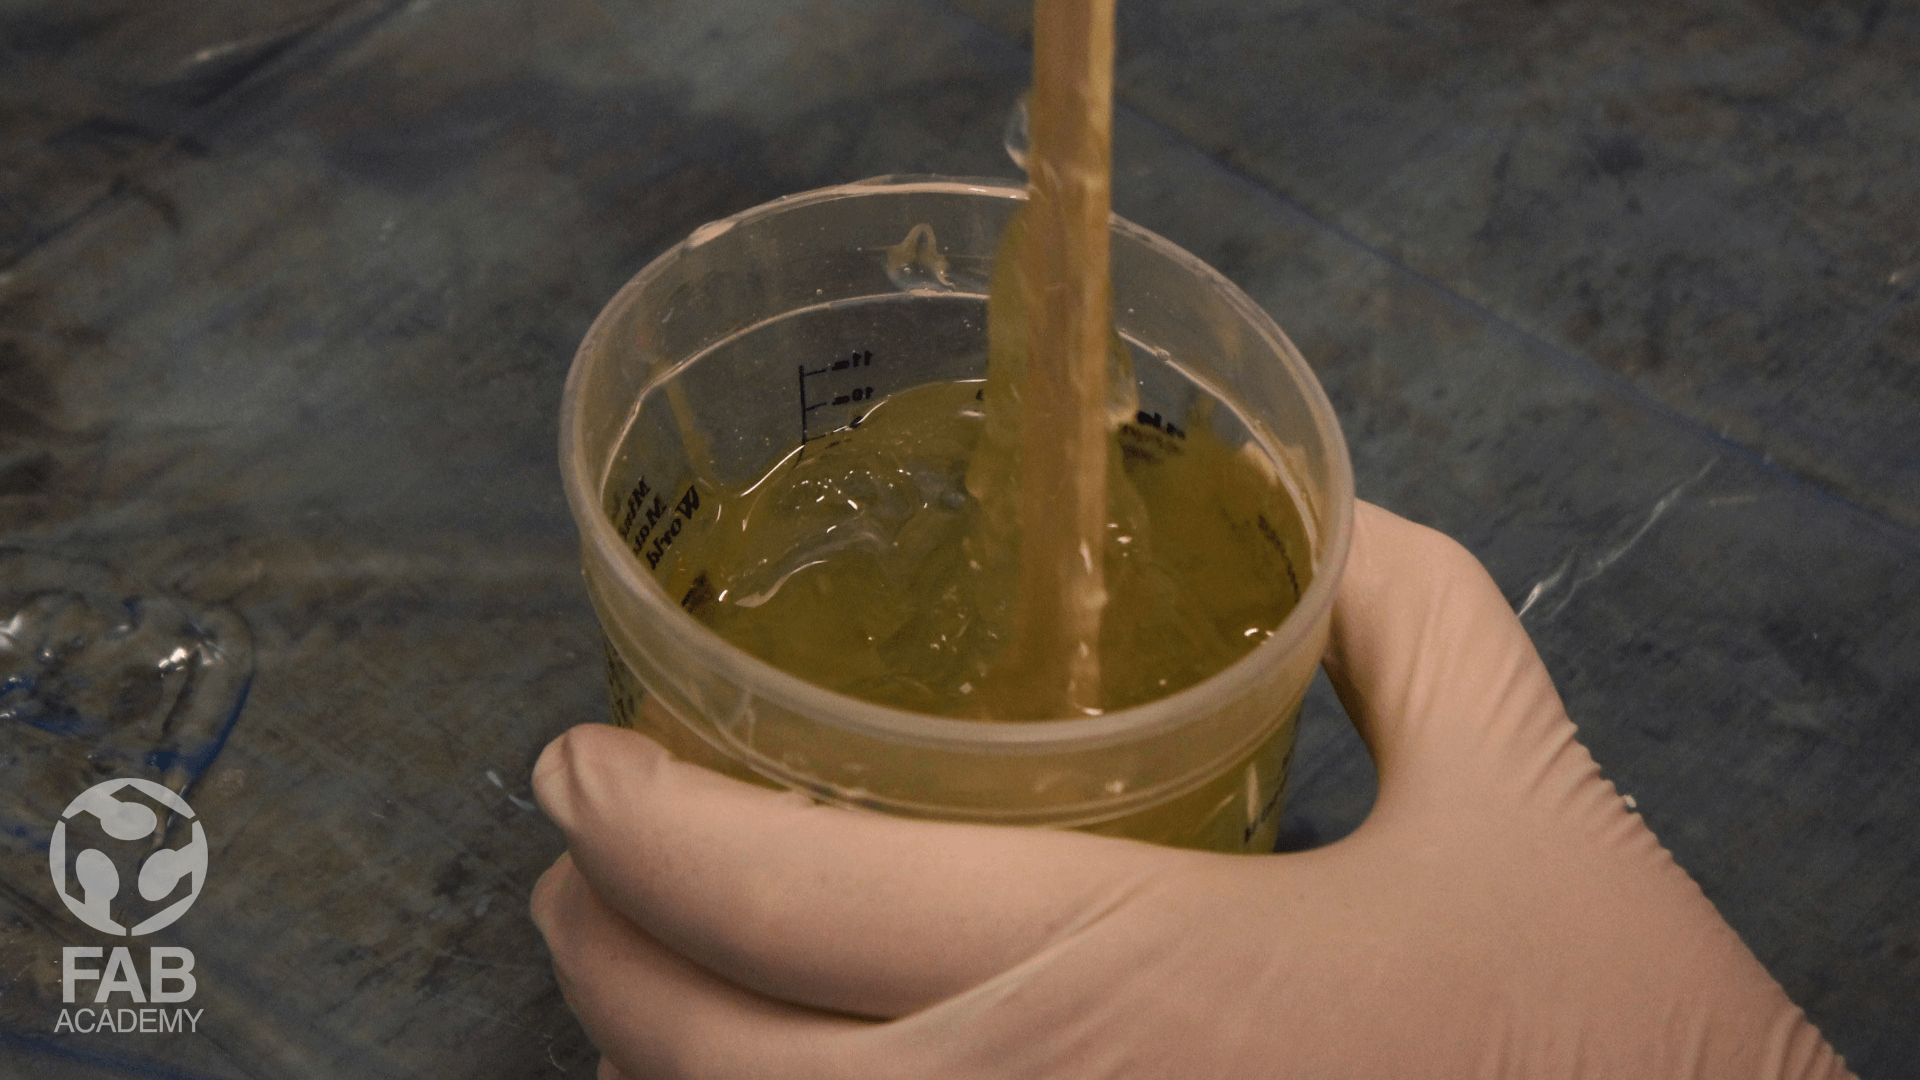
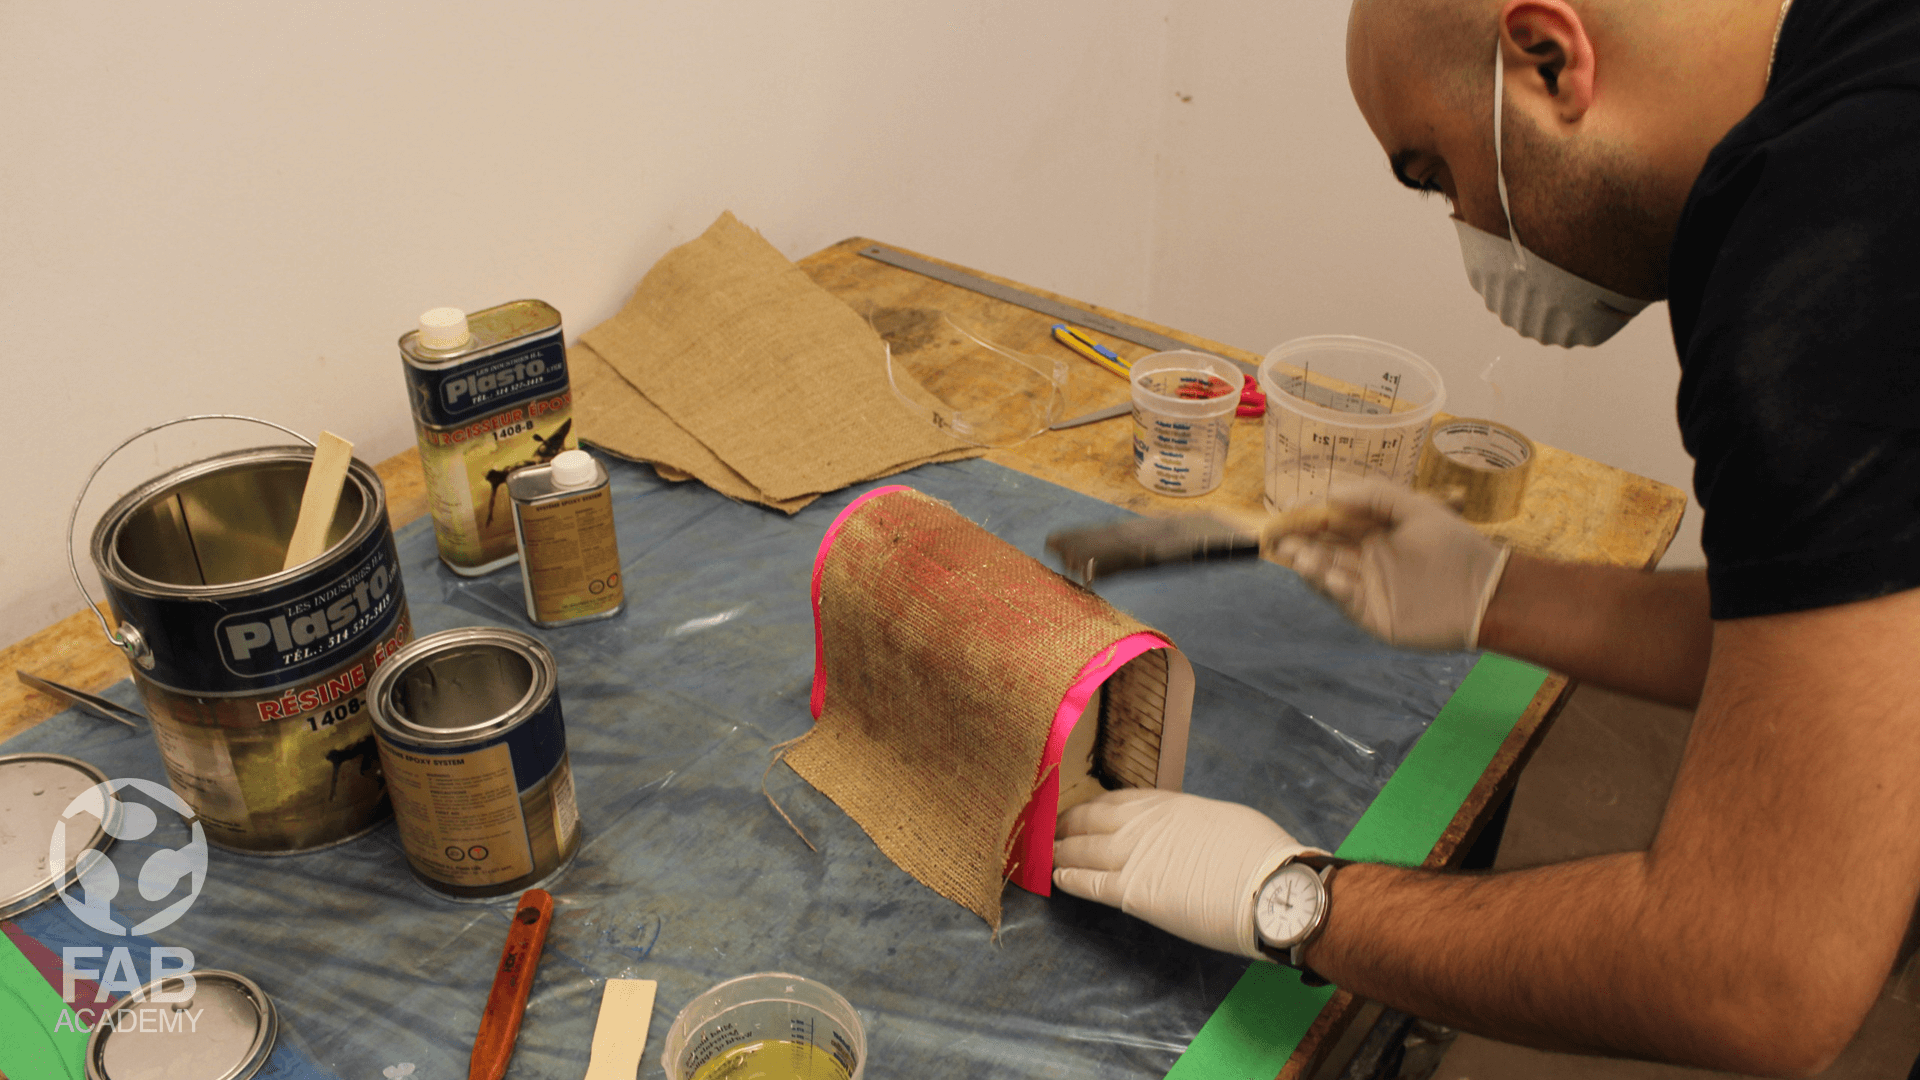
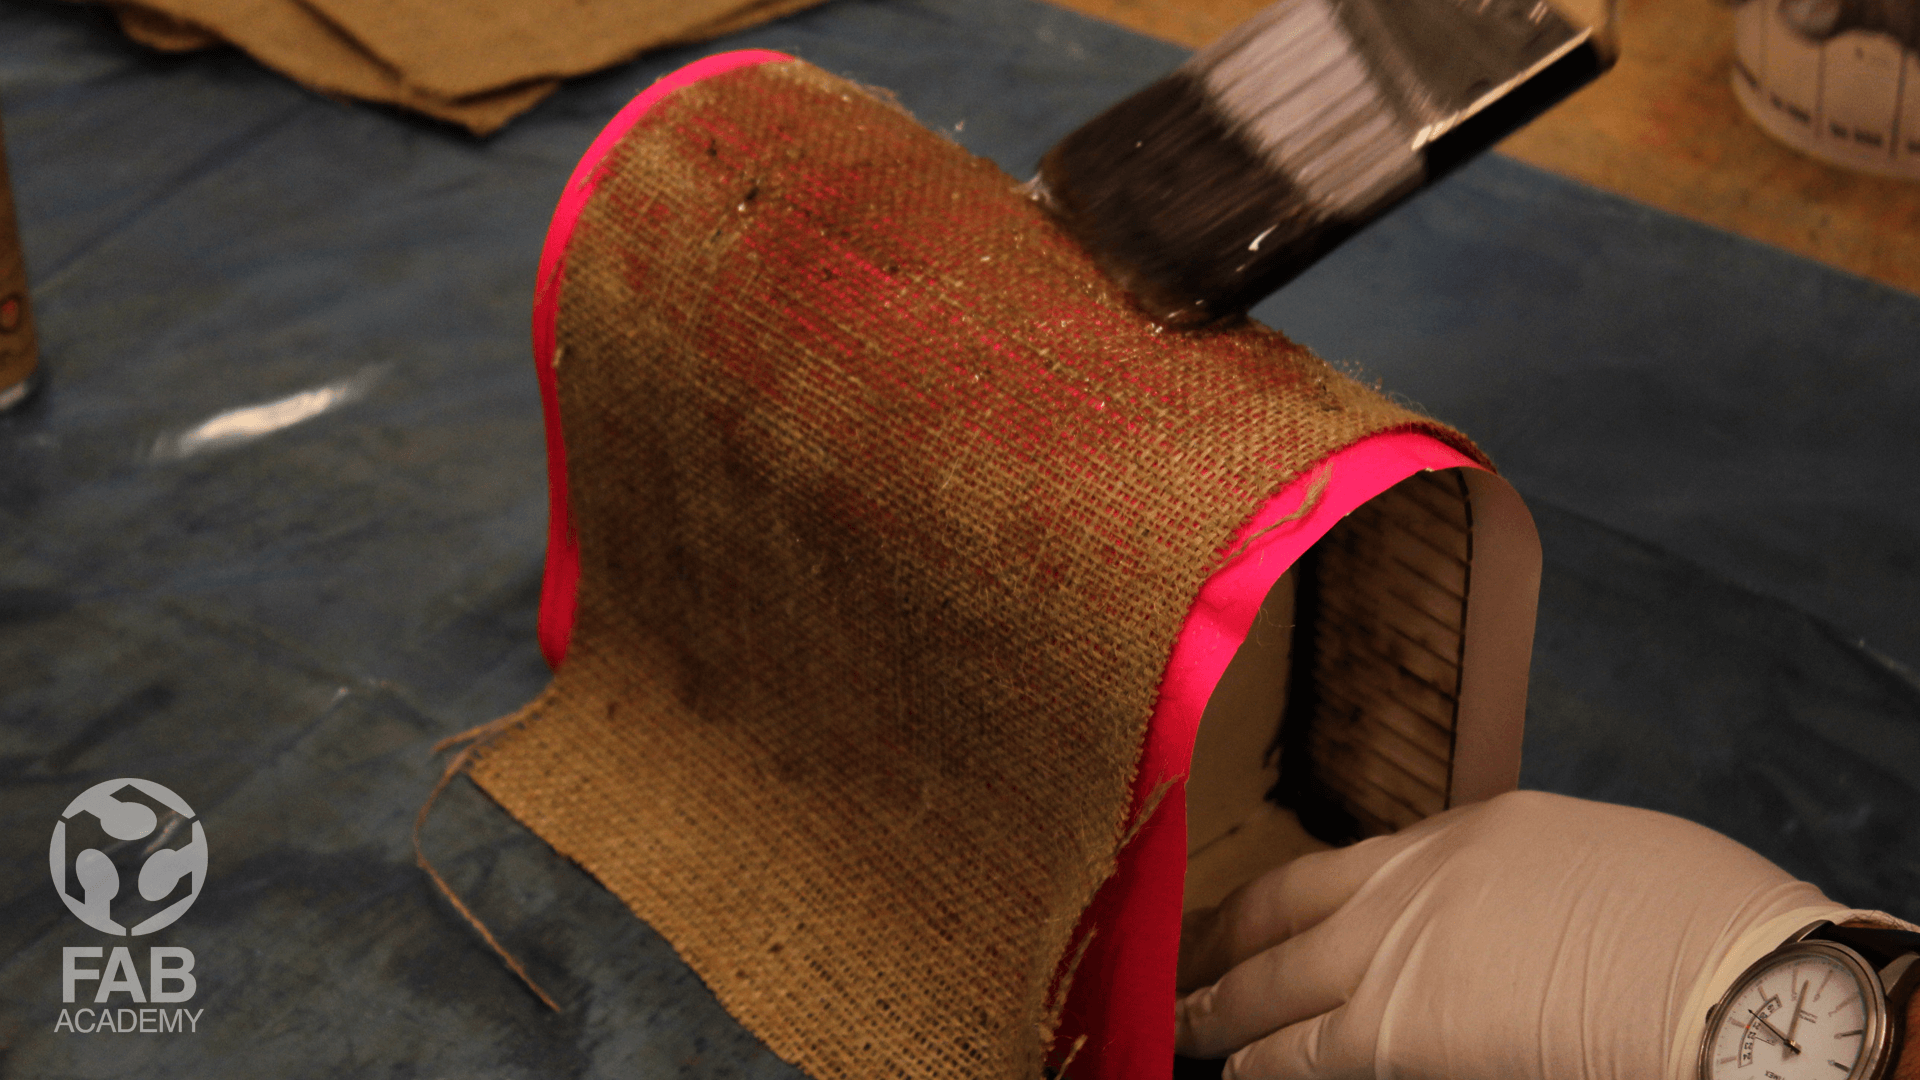
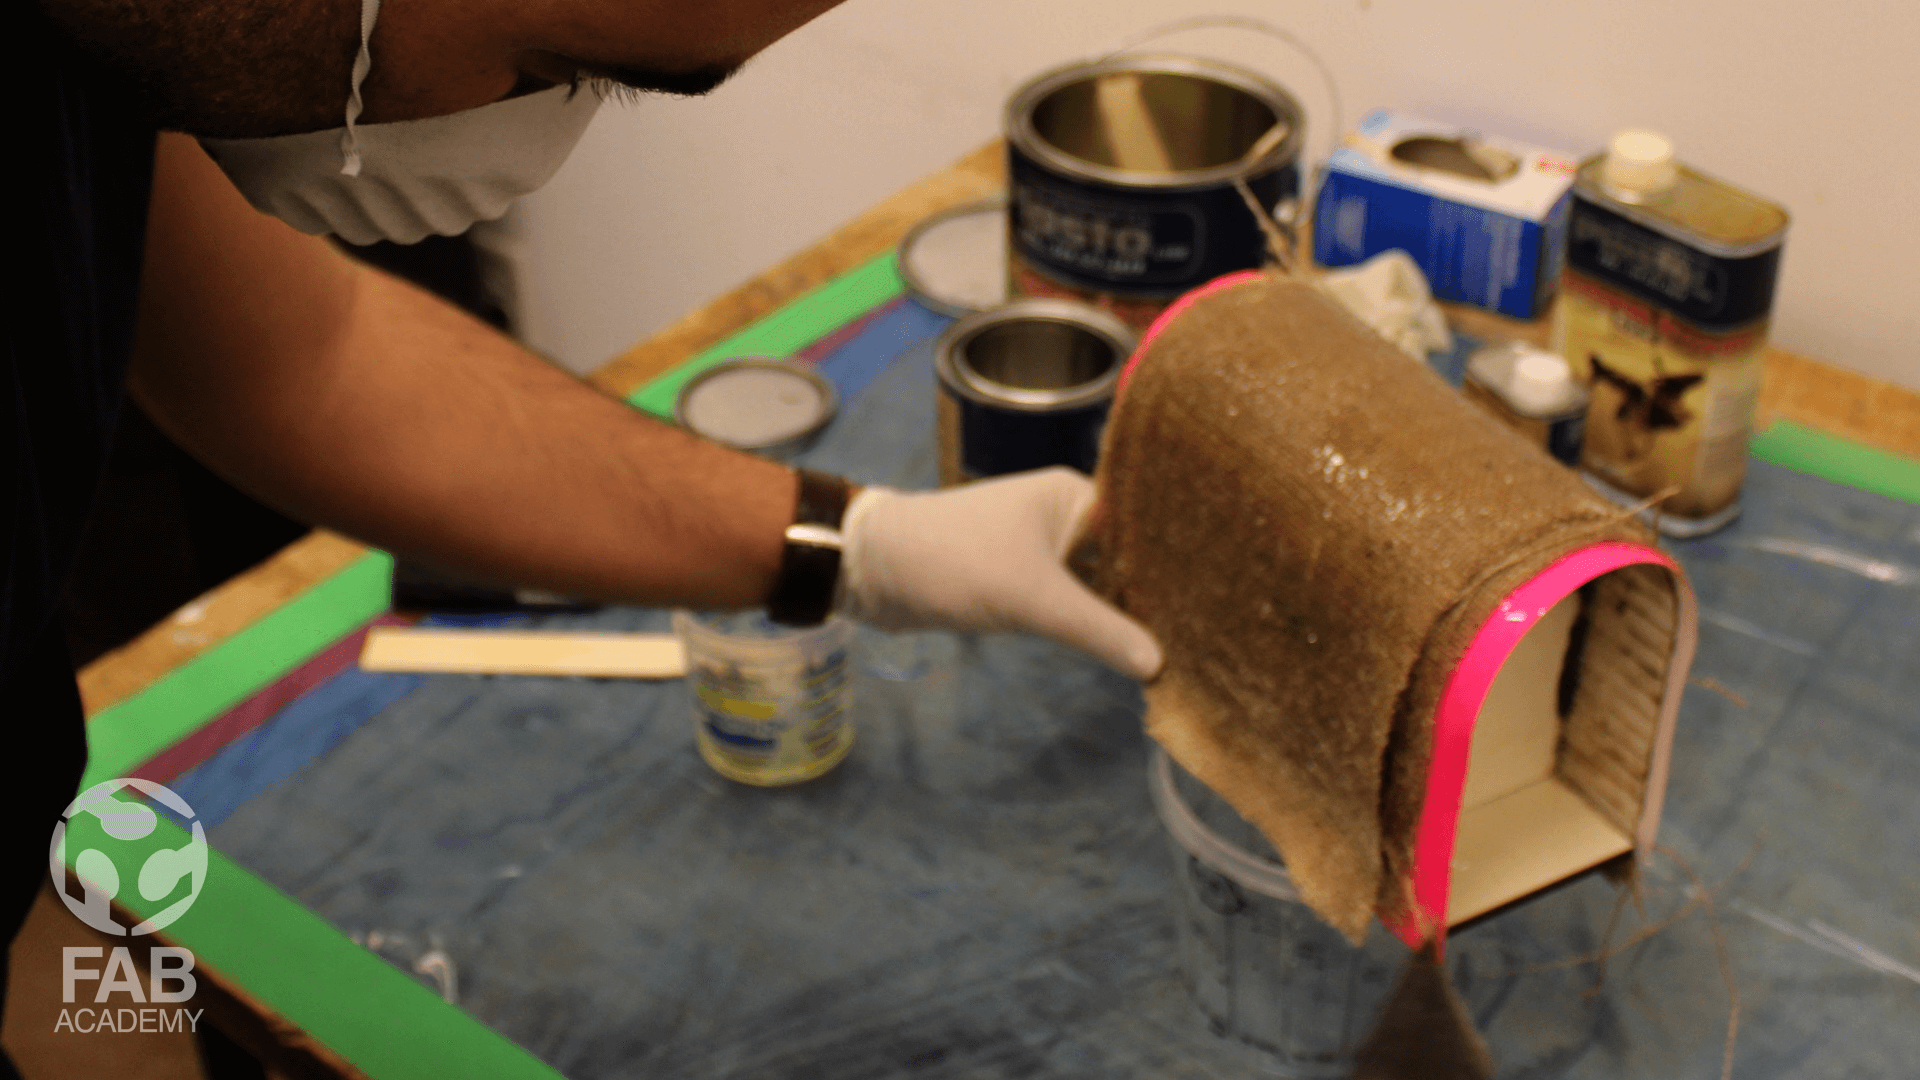
So after wearing the recommended safety gears I started mixing the 2 parts in a plastic container and by using a paint brush I started applying 2 layers of epoxy resin directly on the vinyl surface in order to have a smooth texture when de molding my object and then I started putting the 6 layers of natural fabric separately one after each other and after each layer I was installing I was applying one layer of epoxy resin .
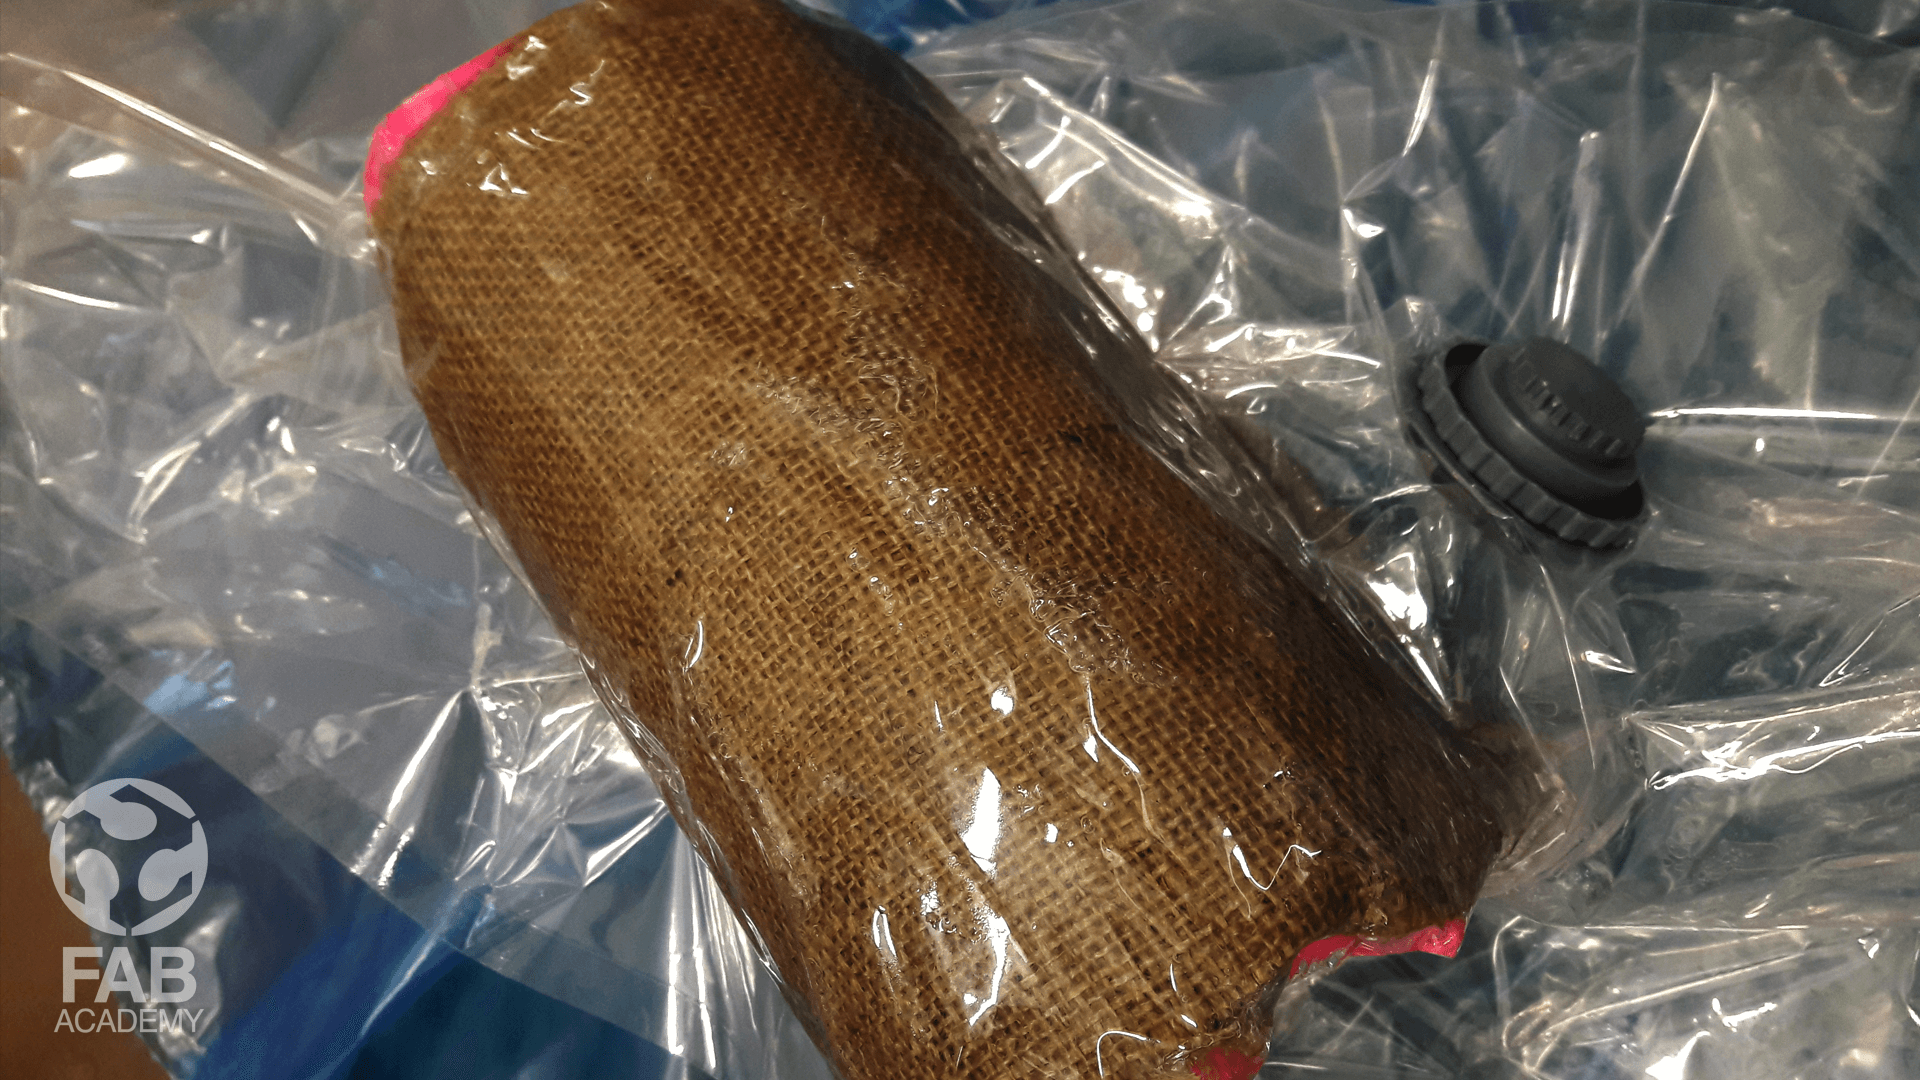
It took me around 17 min to do all the layering part and after I was done I inserted the mold inside a vacuum bag and I connected the valve of the bag to the vacuum machine cleaner hose and turned on the machine for a couple of minutes as a result I was able to see how the vacuum pressure is driving the resin into the fabric cells nicely while the machine was on, then we turned the vacuum machine off and detached it from the vacuum bag and close the vacuum bag’s valve firmly and I waiting till next day for demolding the part.
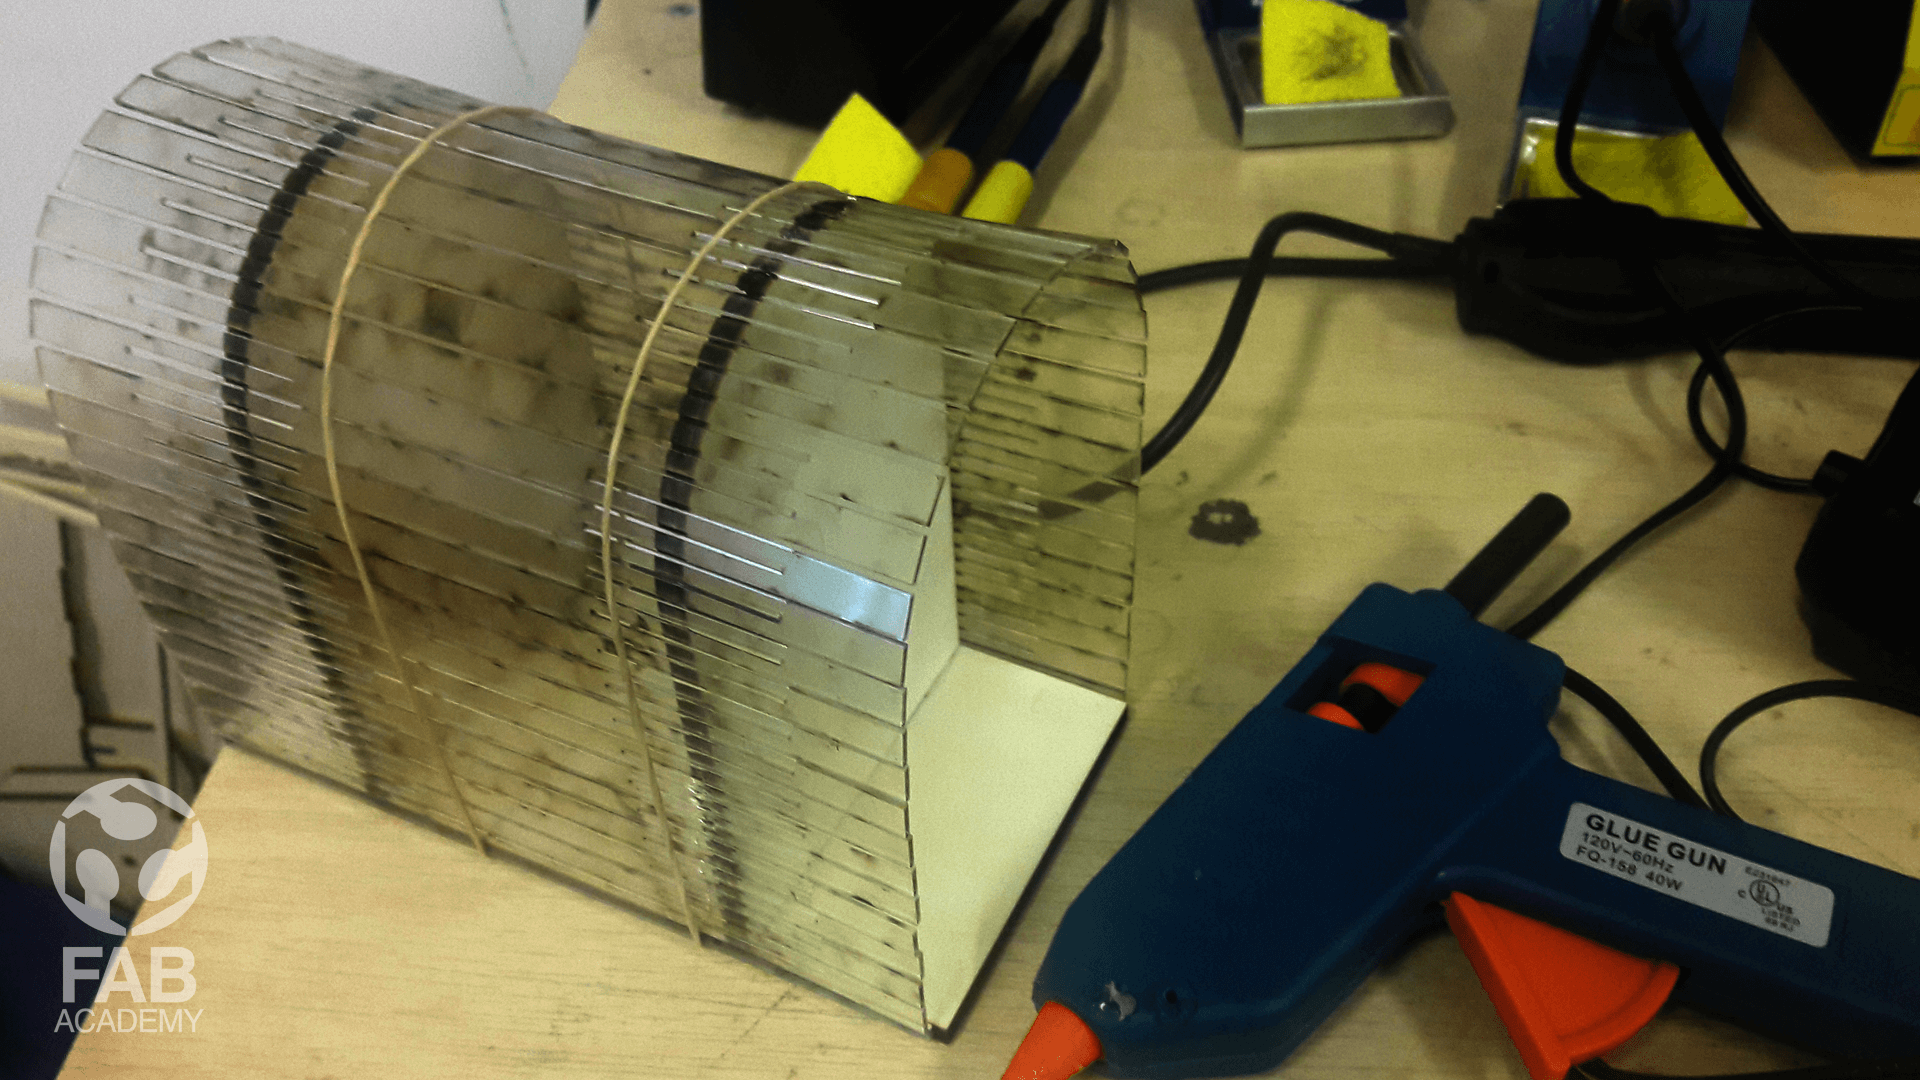
The mold was super strong to handle the pressure the vacuum due to its design and the materials I used as shown in image #06
the upper part of the mold has an arch shaped structure and that gave the mold strength and stability
and prevented the mold from collapsing while applying inward pressure force
Demolding the part wasn’t hard however after removing the bag I used the air gun compressor to blow some air between the mold surface and the inner surface of the object that forced the object to detach itself from the mold.
I was glad to see that nothing happened to the mold especially for the vinyl surface that was in contact with the resin because the vinyl sheet has a high
glossy finish and since I was using epoxy resin it doesn’t react chemically with the vinyl and that is another reason why I decided to use epoxy resin
instead of polyester resin.
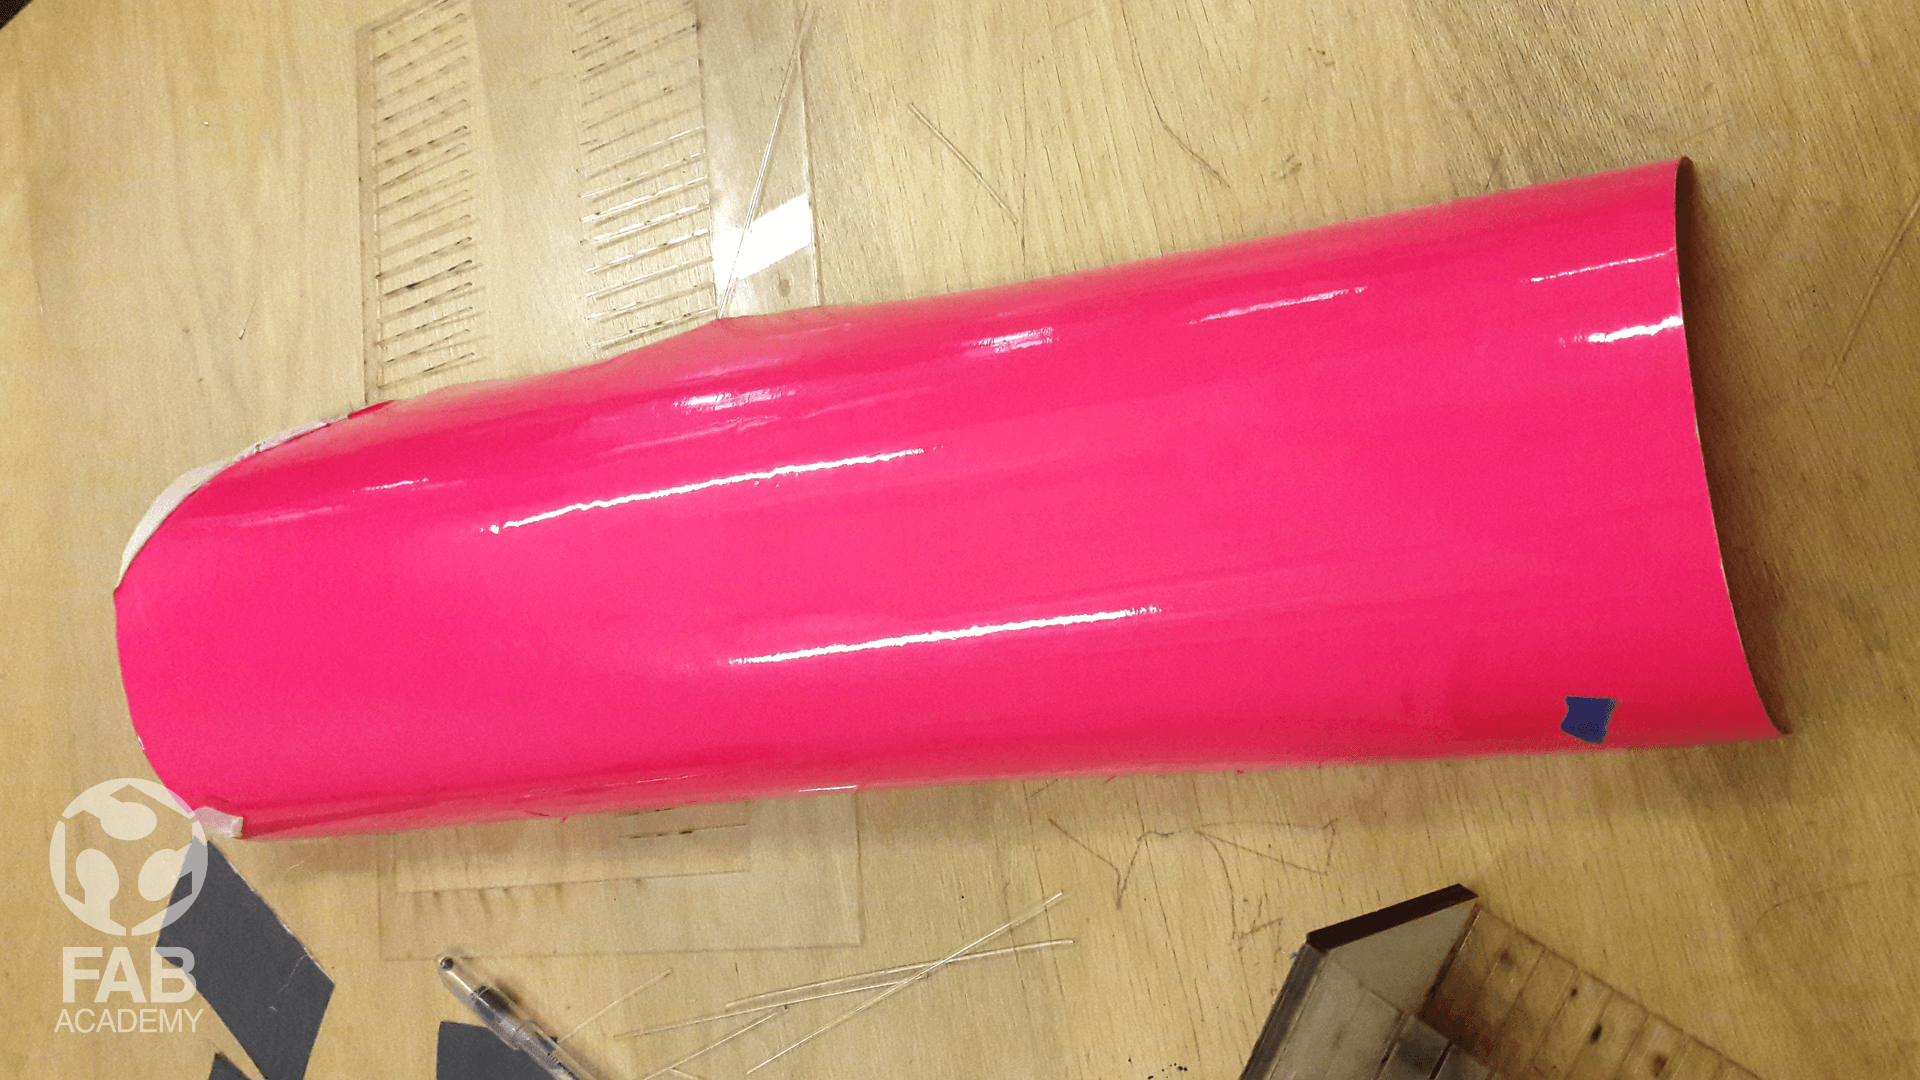
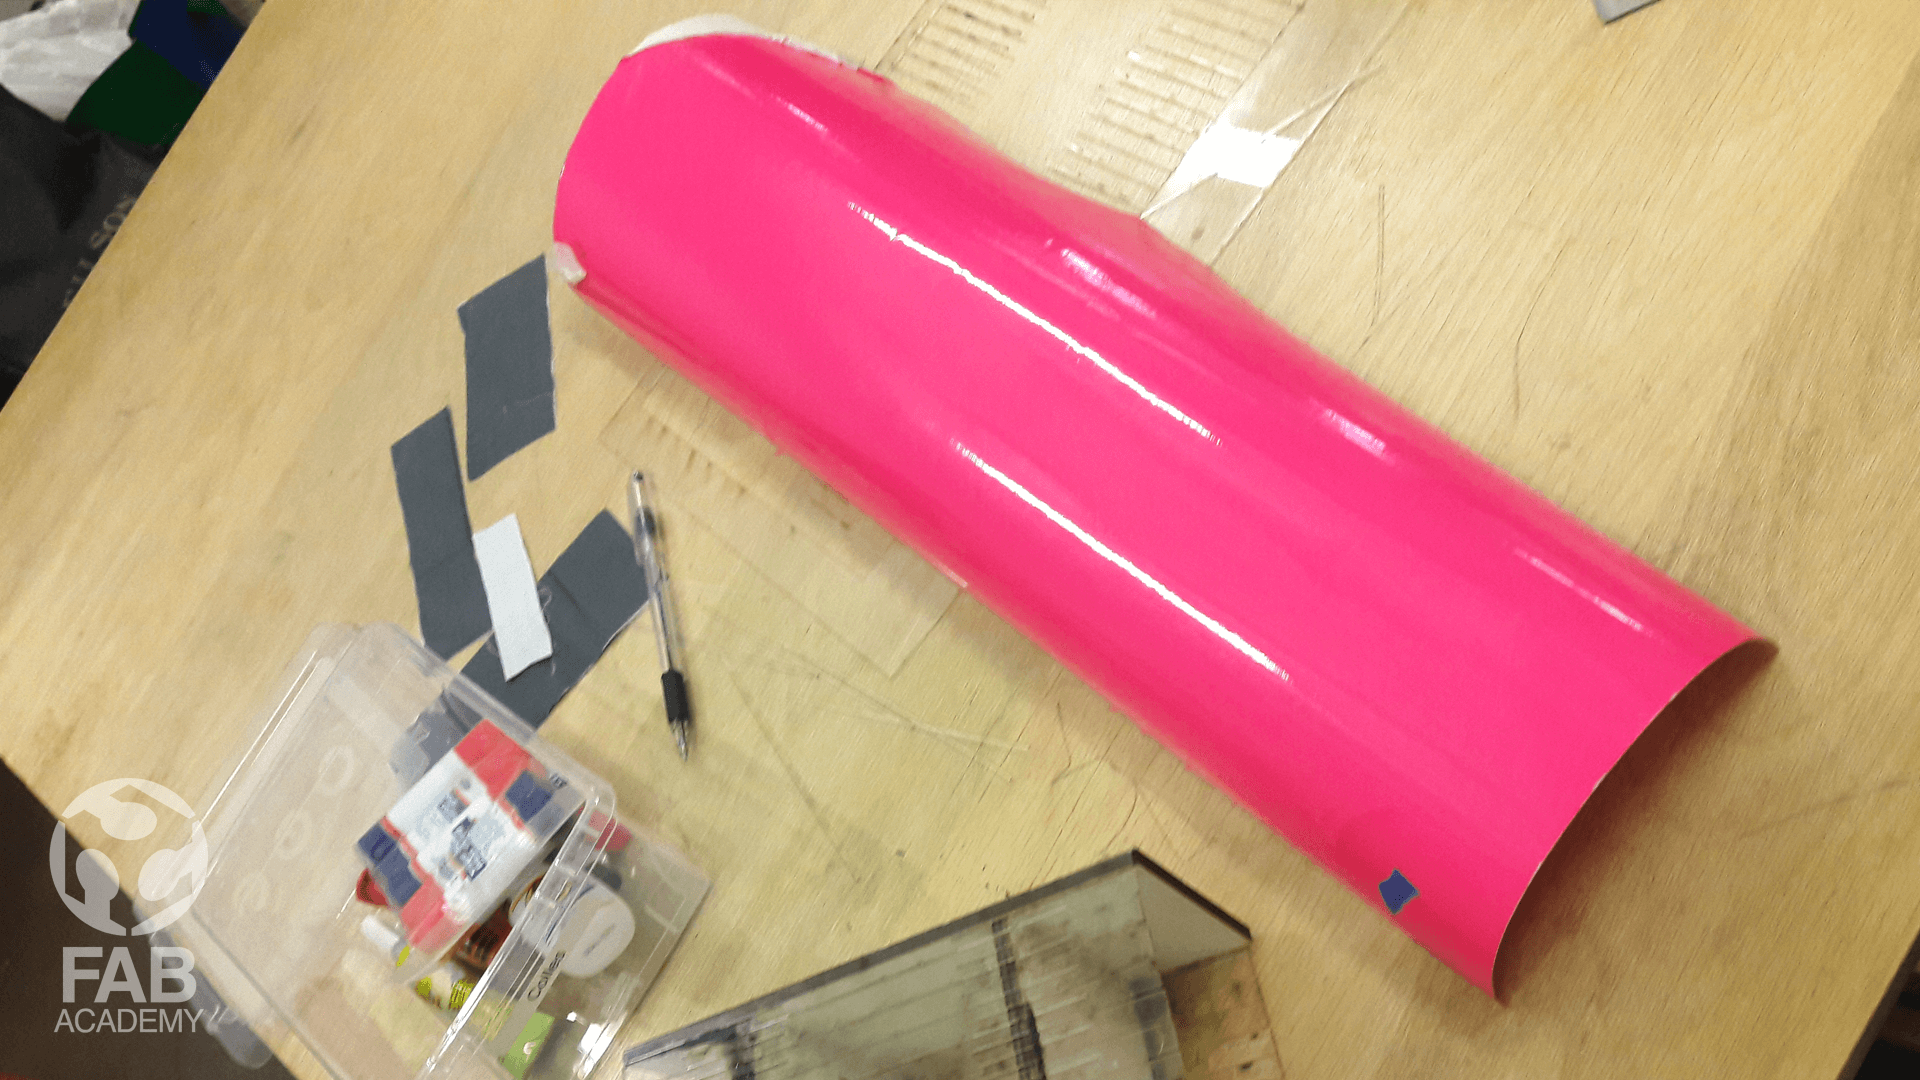
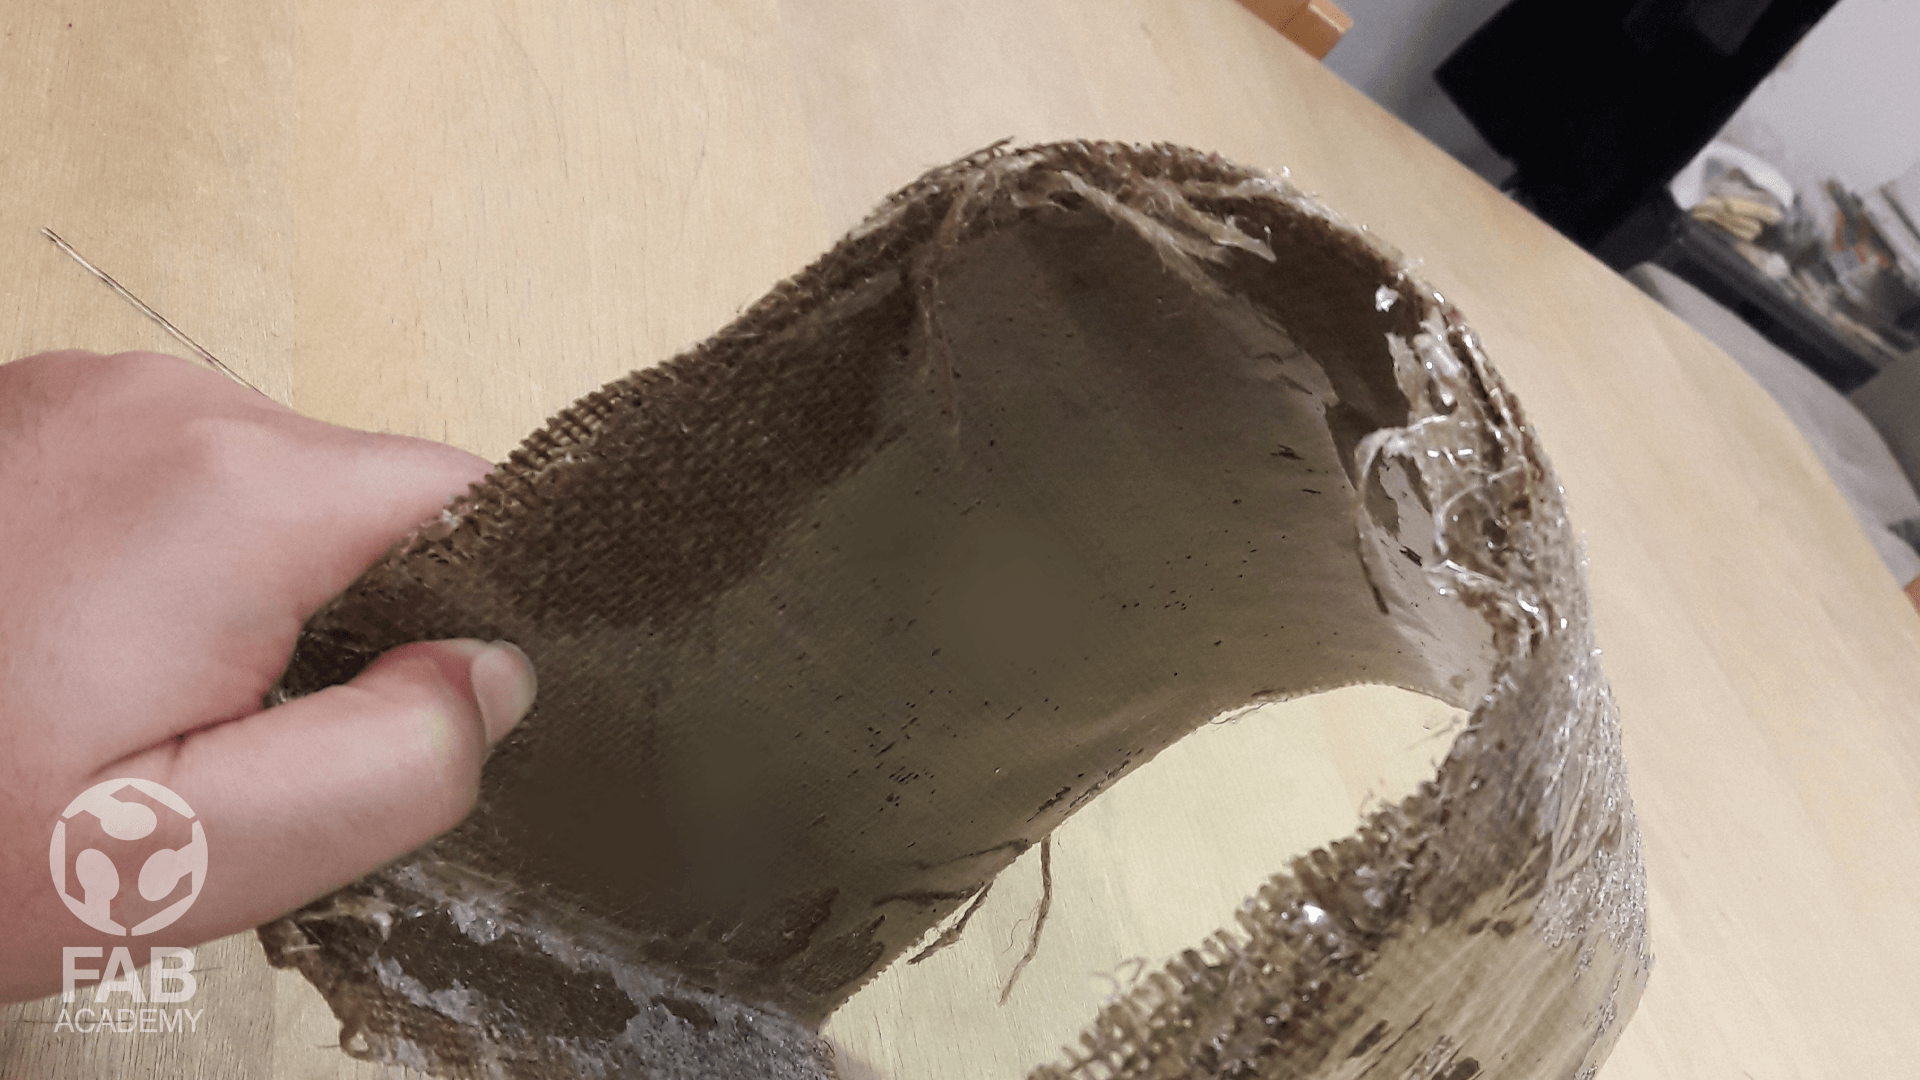
Overall, I was super excited by the end result and the finish quality of the inner surface in addition to that the surface was super rigid
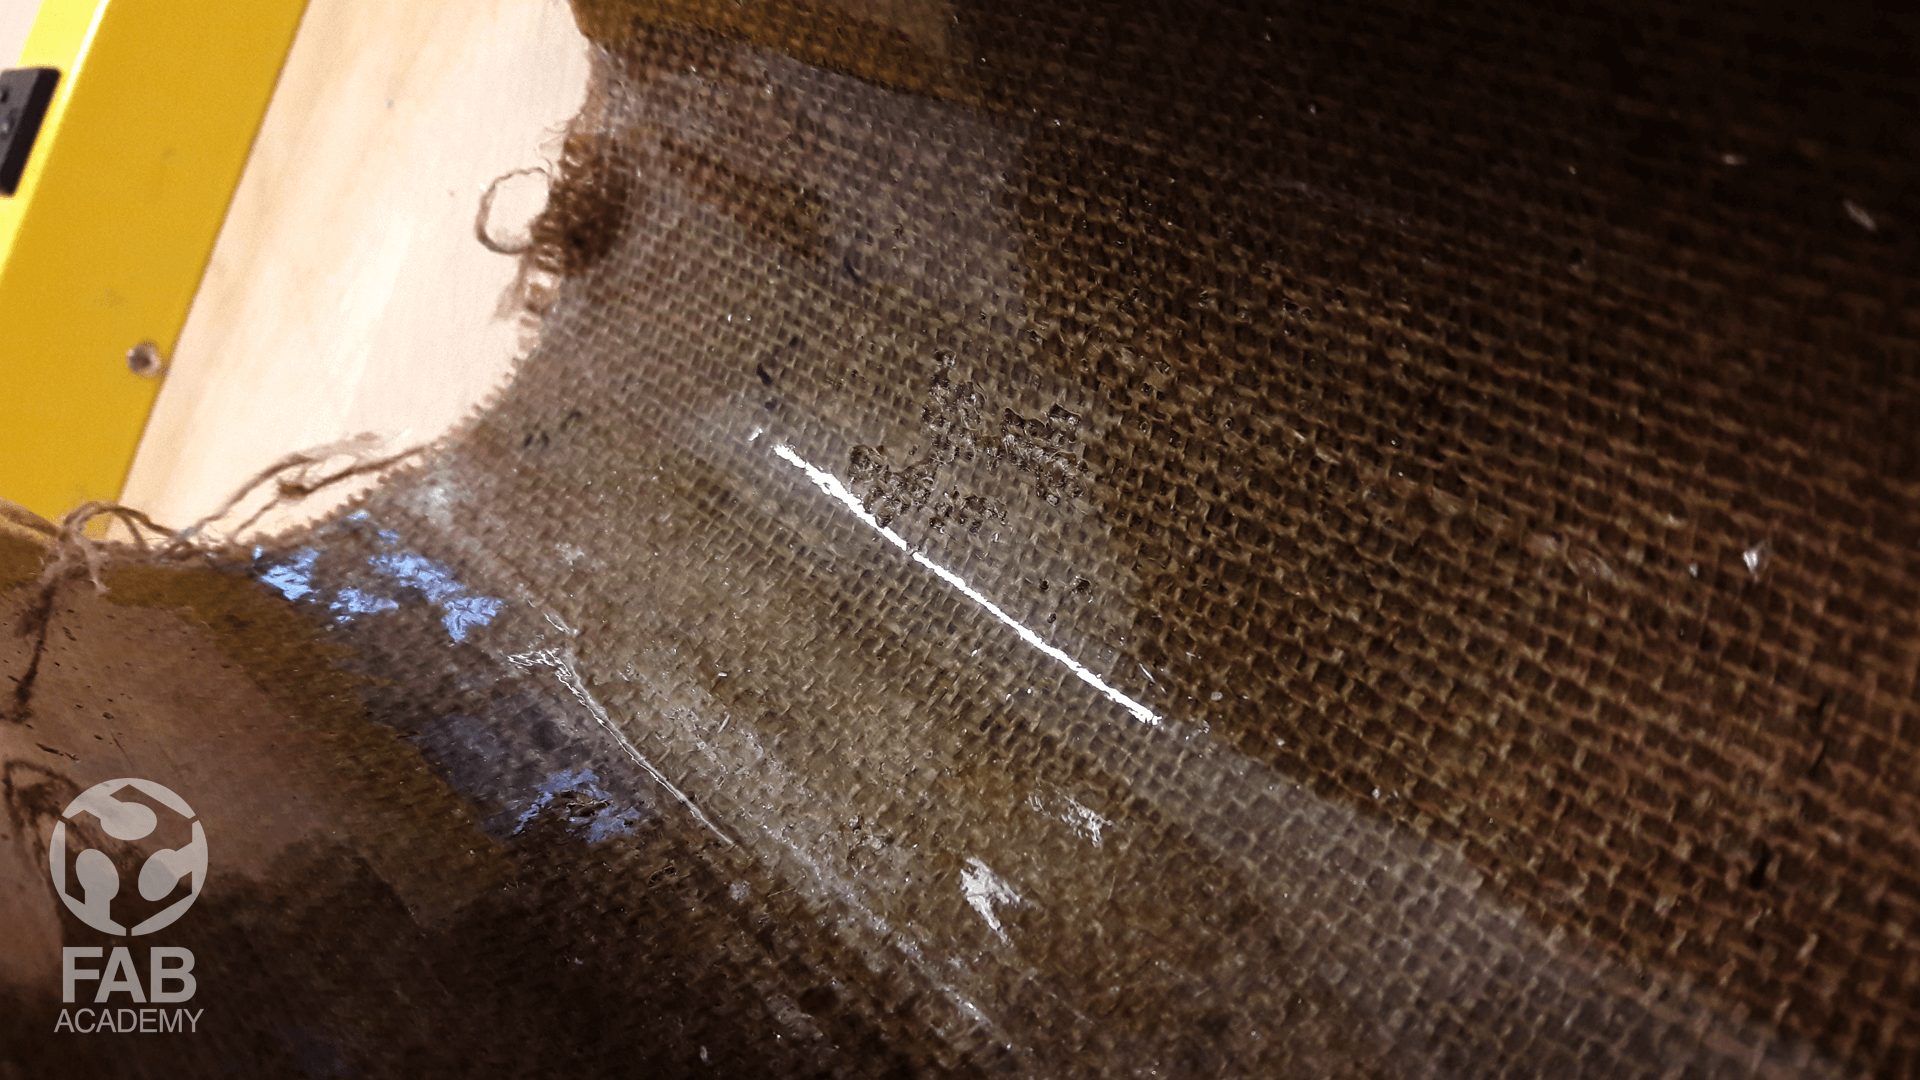
but I belive that I could have achieved a better saturation with the resin by using an industrial vacuum pump that has a higher suction power and I could have also achieved a better infusion by using a custom made vacuum bag not as the once I used in order to distribute the clamping pressure evenly across the whole surface of the mold and to get of the plastic bag wrinkles that are shown in image # 19.
and I’m looking forward giving this technique another try in the near future.
WHAT I COULD DO DIFFERENTLY NEXT TIME
Next time I would also like to try a subtractive manufacturing process for making my mold and I want to learn more about draft angle in molding and casting week week I used subtractive manufacturing process for making my mold but I did not use draft angle since the mold was made out of silicon rubber and it was easy for me to demold the casted parts because of the rubber flexibility .
Generally speaking to bring out the mold from molded product easily, there need to be draft angle in molded design this helps a lot because the moment we start pulling off the casted part from the mold we’ll have gaps all around the edges as a result the casted object can be removed freely without any resistance or friction with the mold surface.
As I was reading more about draft angle I found that draft angle of 1.5 to 2 degree is required for most parts as mentioned in this website revpart.com
However, for this project I didn’t have the chance to use the CNC machine to construct my mold since the volume of my object is large and the cnc we have at our fablab is a small cnc we mainly use it for pcb milling and milling small objects that is why I decided to use the laser cutter machine for constructing my mold.
DOWNLOAD SECTION
+ WILDCARD WEEK _ fiber composites.3dm DOWNLOAD .
+ WILDCARD WEEK _ fiber composites.dxf DOWNLOAD .
+ WILDCARD WEEK _ fiber composites.svg DOWNLOAD .